Ok. So I recently attended two different workshops put together by photographer couple Justin and Mary Morantz from Justin and Mary. The first day's workshop was called "Lighting Intensive" and revolved around understanding and using natural light and a one-light setup to shape light, making it work for you to create a more dynamic image. My mind and heart have been churning and bursting at the seams as I've tried to digest this yummy new information and figure out how to implement what I've learned in new and practical ways when I shoot. I know it will definitely be a journey to make this stuff come "naturally" but I LOVE the journey! How exciting to know that I can continually learn and grow! The following images show a typical tablescape setup complete with a floral centrepiece, tableware and a wedding favor. I've heard a lot of different ways of how to capture details - my go-to has almost always been using either only ambient light (no flash) or using my on-camera flash pointed straight up to bounce directly off the ceiling. I have no qualms with these methods as, obviously, they've worked (well, worked enough) for me in the past but I'm utterly convinced that what I've learned takes things up a notch. Working with off-camera flash can be really daunting which is why I've semi-avoided it. I do use OCF and actually study new information when I find it but it often feels like trial and error rather than practicing a science, you know? What I learned here is SO SIMPLE, it's bananas.
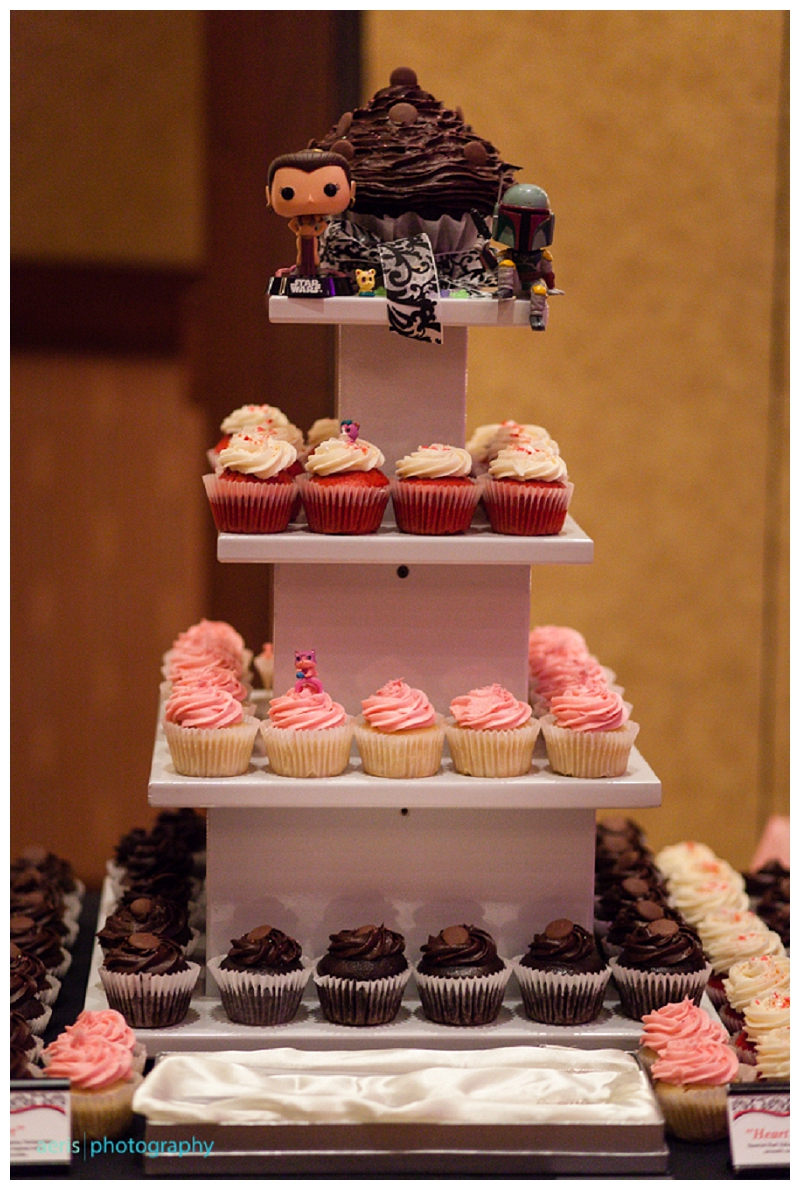
Ok, first let's look at a recent image I took "pre-workshop." The reception venue was quite dark (as most receptions are) and so I lit up this display of capcakes by bouncing my on-camera flash straight up. If you look at the shadows around each of the cupcakes you can see that they aren't super directional - You can tell the light was obviously coming from almost directly above. (excuse the fact that my blog compresses single portrait-orientation images oddly and makes them look kinda yucky).
Now, check out the tablescape images from my workshop. The lighting was, again, quite dark but instead of using my flash on-camera, bounced straight up I used my flash off-camera in a medium-sized softbox. I had an assistant hold the flash directly to the left of the table, angled straight across the table (not angled down towards the table at all). In effect, the flash was 90 degrees from where I was standing. Because the flash is placed inside a softbox the light source becomes 1) larger, 2) less intense and 3) more dimensional. Try to picture where the light is when you look at these.
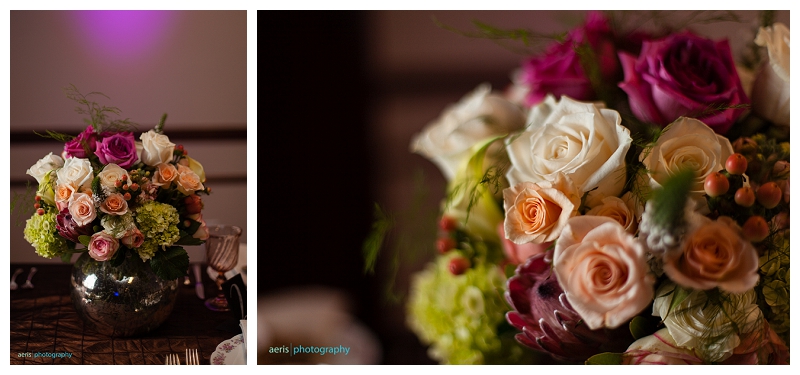
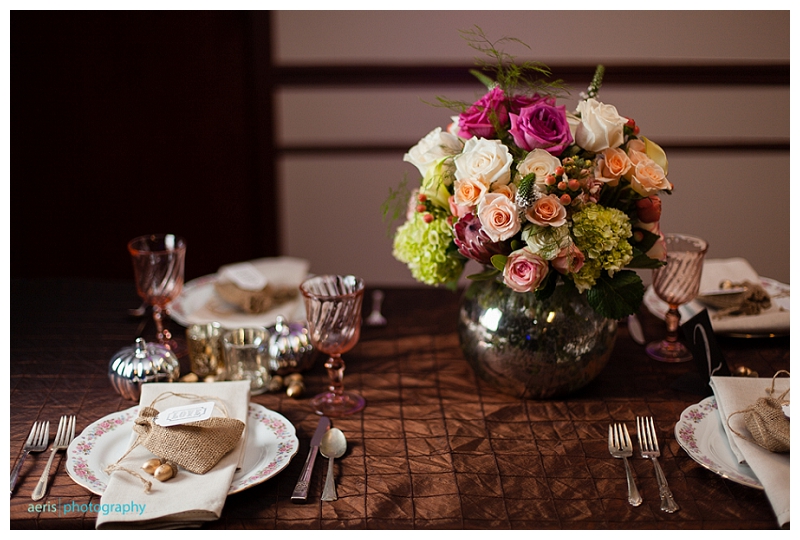
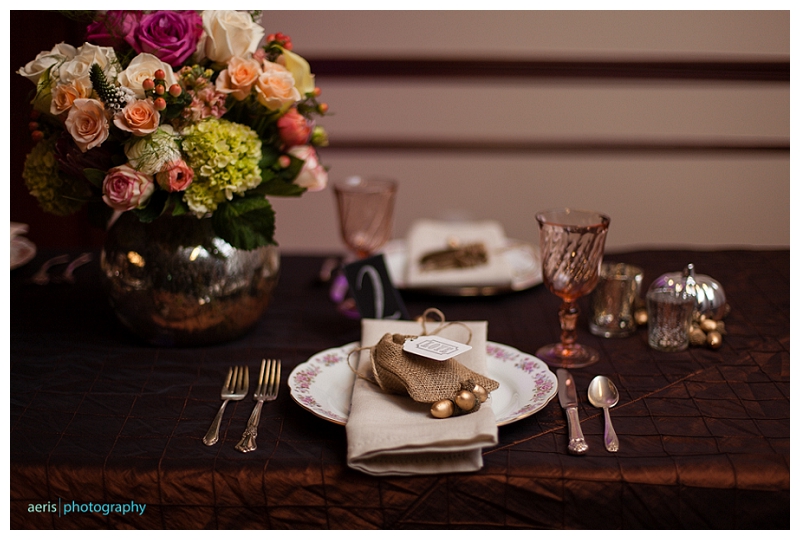
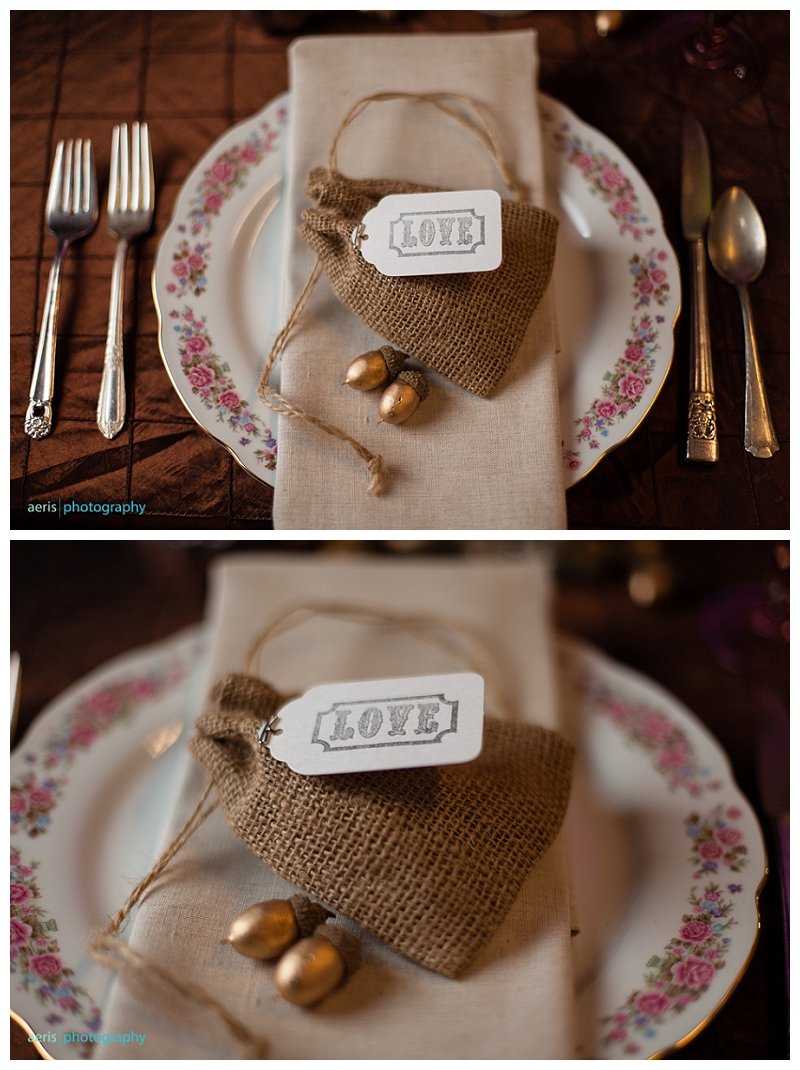
Can you see the difference? It's actually incredibly significant! It's such a simple change but the results make everything more luxurious! I'm in love!
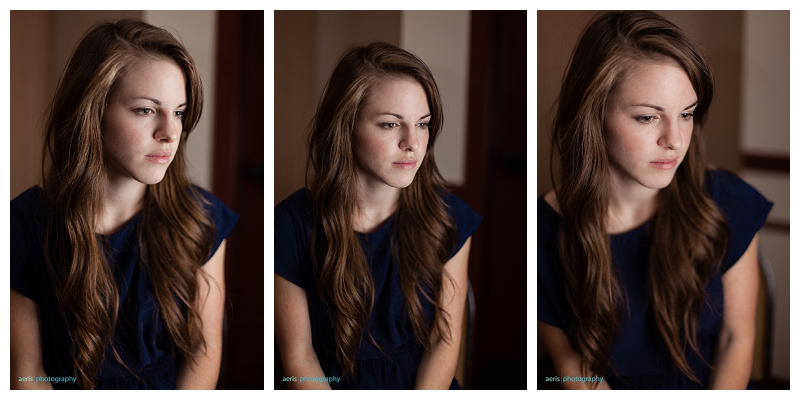
I also tried using this OCF setup (with a softbox) with one of the models in our class. In this triptych I started with my assistant holding the softbox to the right of the model, about 90 degrees from where I was standing. Again, the softbox is directed straight across as opposed to angled down at all. In the centre image I got the assistant to move slightly to her left (the assistant's left; not the models) so she was more around 85 degrees from me. The image on the right I moved my assistant a bit more to about 80 degrees from me. Can you see the subtle differences?
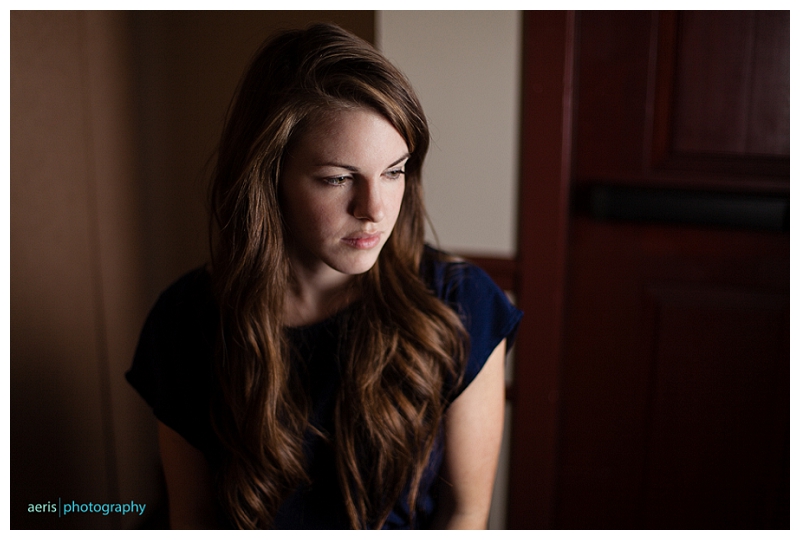
I'm in LOVE with this new simple way to "up my game" and can't wait to try it out at my next wedding in December!
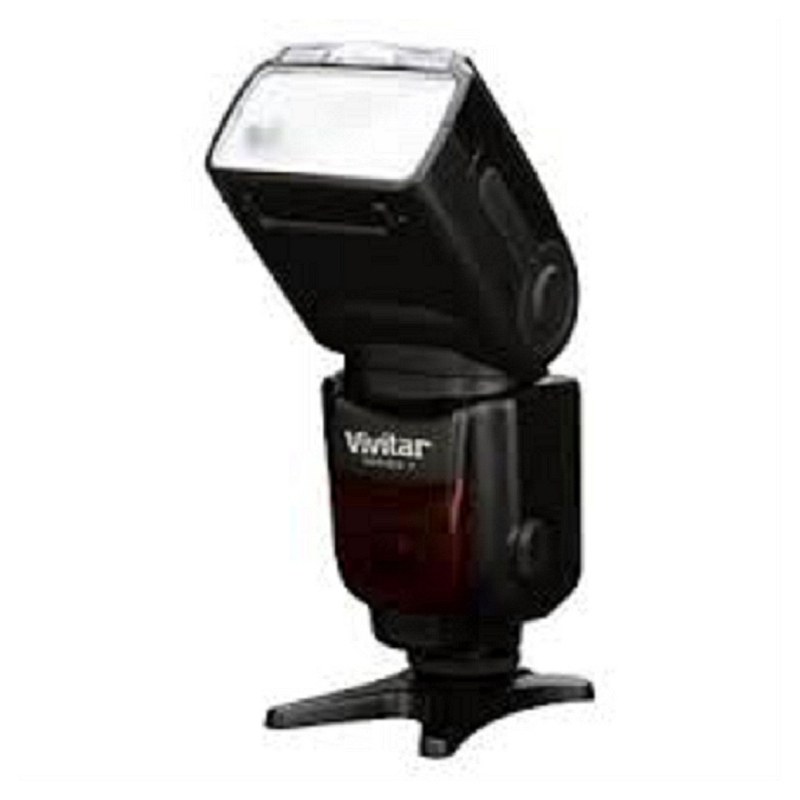
Interested in off-camera flash? All you need is one flash and a set of wireless remote triggers (there are also triggers that don't have to be wireless but if you're buying them anyways, I'd recommend wireless). One of the triggers attaches to your flash (off-camera) and the other attaches to the hot shoe on your DSLR). If you shoot Canon, you can also invest in 2 of the 600 EX-RT speedlites (which I have) that have the wireless trigger system built right in!! I'm in LOVE with my 600's and would highly recommend this option but prior to this I used a Canon 580 speedlite (no longer in production, I think) and pocket wizards :) You can find a medium-sized softbox like this one online or at various photography stores around your city.

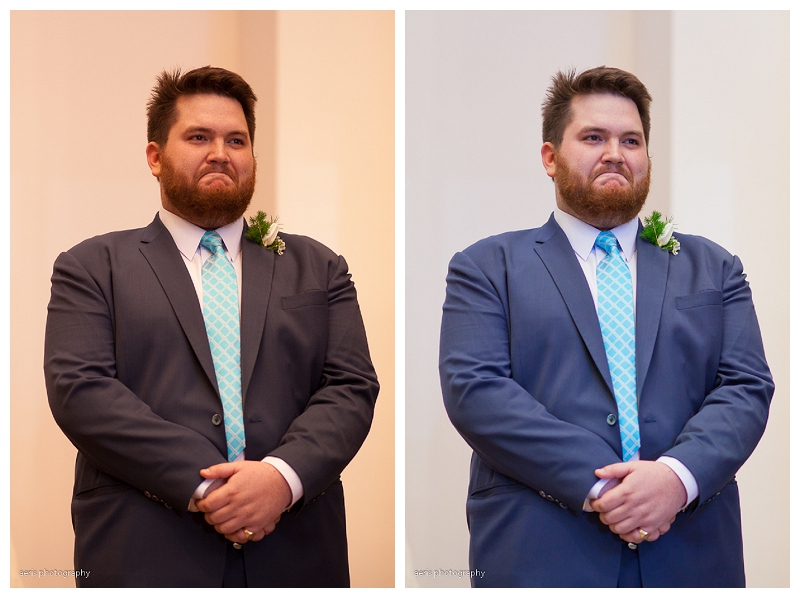 ISO 1250, f2.2, 1/160
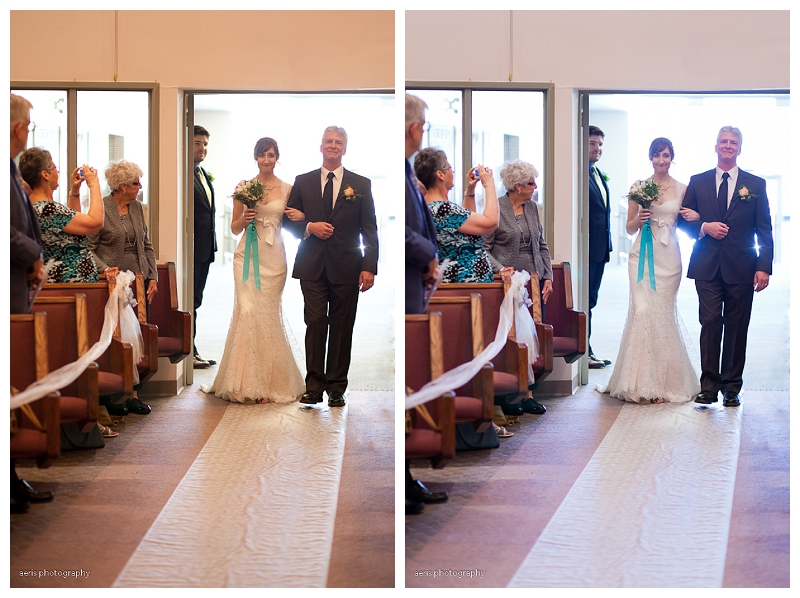 ISO 1250, f2.2, 1/160