justin and mary

my why. part two of my reflections on "the art of authentic posing" workshop by justin and mary. by Cheryl Lukasewich

As you may know I recently attended 2 incredible workshops hosted by the incredible photography duo Justin and Mary. Day one's workshop was all about using natural light and off-camera flash to create dimensional, luxurious images. Day two's workshop, "The Art of Authentic Posing", was yes, about posing but it went deeper than that. I recently blogged another part of my reflections on this workshop (my WHY) which I'd encourage you to look at here. Today's blog post covers a different "Why": When we're striving to capture the love between two people - their hearts, their essence, their passions and love for each other - WHY do we pose them the way we do? Have you ever seen (or done yourself?) one of the following poses when looking at couple's photography?

-the "we look mad at each other" pose - the "we've been doing the dip-kiss pose for 2 minutes straight and now it's getting uncomfortable" pose -the "form a heart with our hands" pose -the "make the bride sit in the middle of the highway" pose -the "let's all jump at once" pose -the "straddle each other" pose -the "bride sits on the ground and her flowers are placed on her train" pose

(for the record, I've done almost all of the above in some form or another since I started photography...).

How about photo editing?:

-the "everything is in black and white except the eyes/flowers/garter/etc." selective color edit -the "green or orange tint" edit -the "reduce clarity dramatically so the image seems dream-like" edit -the "add in clouds-that-weren't-there" edit -the "faces superimposed onto an wine glass/bubble/background" edit

No doubt you've seen a lot, if not all, of these things (I've seen each one on Pinterest with a "MUST have my photographer shoot this" caption. So here's the question: WHY?

Justin and Mary put out the "Why" question as a bit of a challenge. When creating an in image why do we pose couples the way we do? (Editing the way we do is just as relevant). Are you photographing a couple jumping because it actually sums up their personalities and the energy of the day (or better yet, because you caught them jumping around when no one was really watching)? If so, then jump on! Do you have a "dip" shot because your groom grabbed his new bride and made her knees week? If so, rock it out!! If you have a WHY that backs up what you're doing with your couples then go for it! If you don't have a WHY - well then, why are you doing it? Are you doing "selective color" editing because you it's stunning and a timeless addition to a couple's wedding album? Then color selectively!....(that's hard for me to say but if you have a legit WHY...). You get the point, right? It's not that one person's posing and editing is necessarily better than anothers but HAVE A "WHY"! The goal is to create something authentic so just promise me this and ask yourself "Why?" Yes?? Yes!

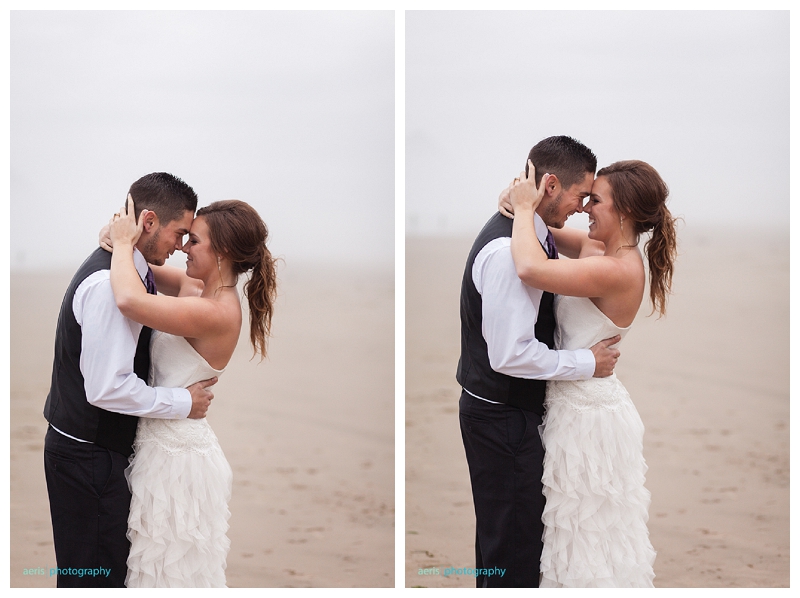
If you want to photograph (and pose) couple's authentically then seek out that authentic moment! If you're with the couple for formals and they're no longer in an "organic/photo-journalistic" scenario (eg. you're no longer photographing them candidly as they get ready in their hotel room and have moved them to, for example, a field) then do your best to create and facilitate an environment wherein you CAN capture authentic moments. A couple in love is an authentic thing - couples touch, sway, laugh, kiss - so focus on giving couples opportunities to BE IN those natural moments! Your WHY is going to show through in your images and will hopefully attract the type of couples that can identify with you. So no matter what your WHY may be you'll be able shoot more weddings with your dream clients because you've connected with them more deeply than just at a coffee meeting!

I would actually love your feedback on this blog post if you have an opinion. Do you agree/disagree? Have you thought about your WHY? Something to ponder :)

Are you connecting with and excited about what I'm talking about? Looking for your own wedding photographer and think we'd mesh? Shoot me an email and we can get together to chat and see if we're a good fit!

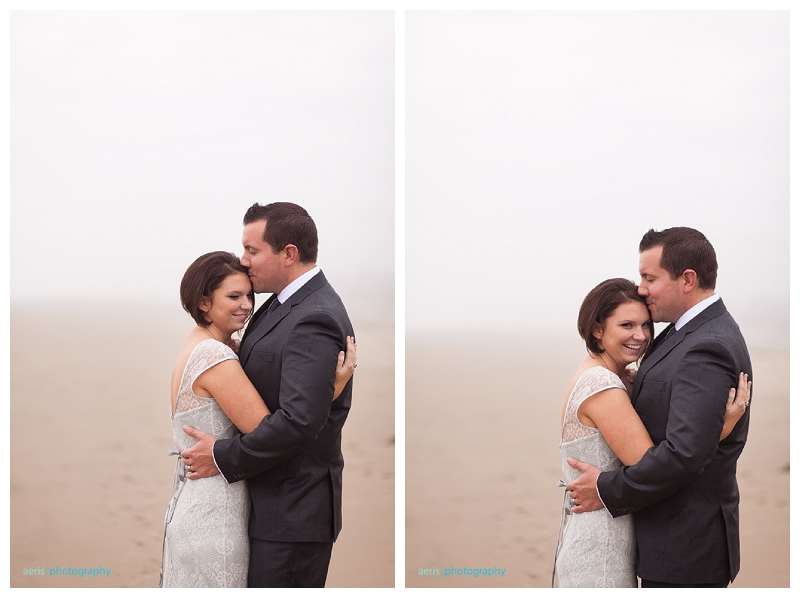
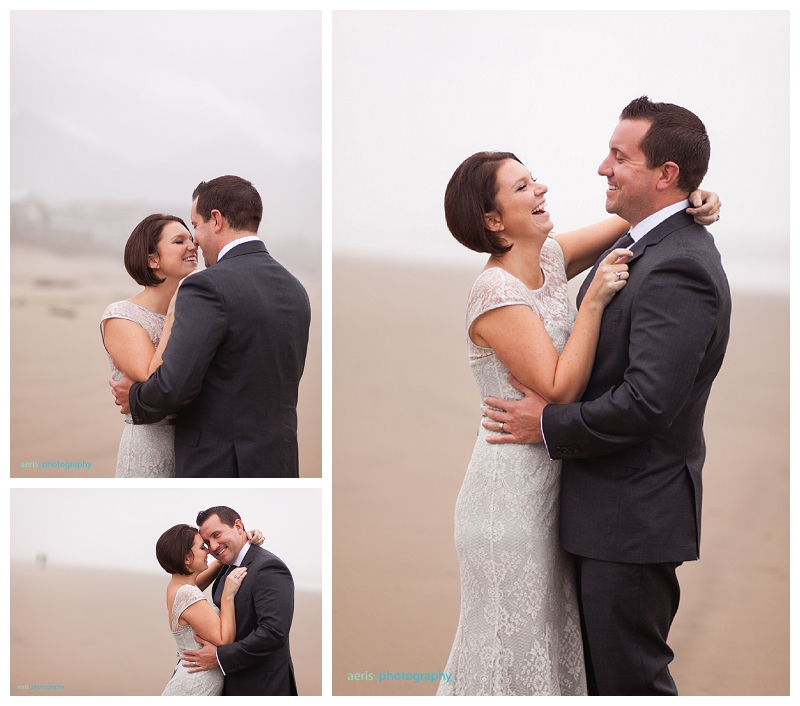
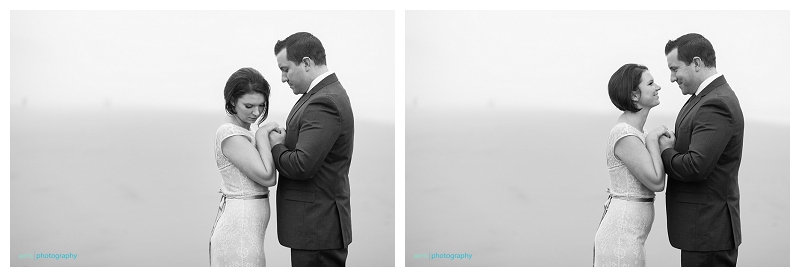
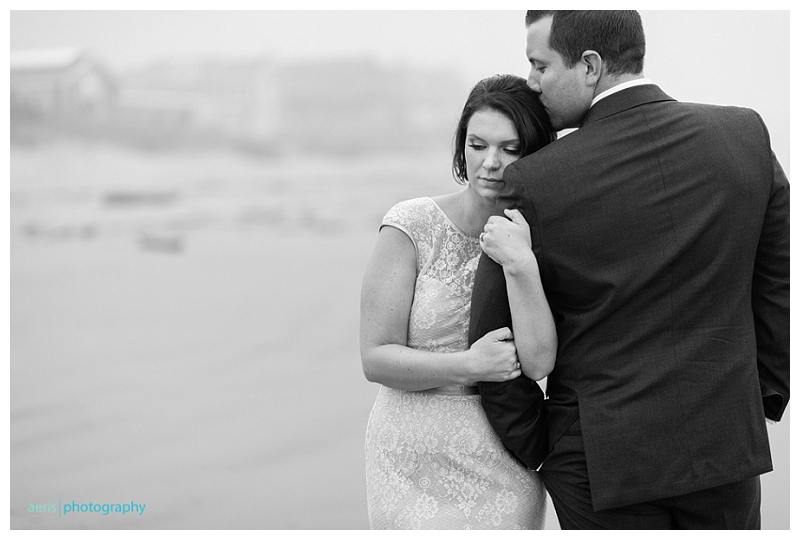
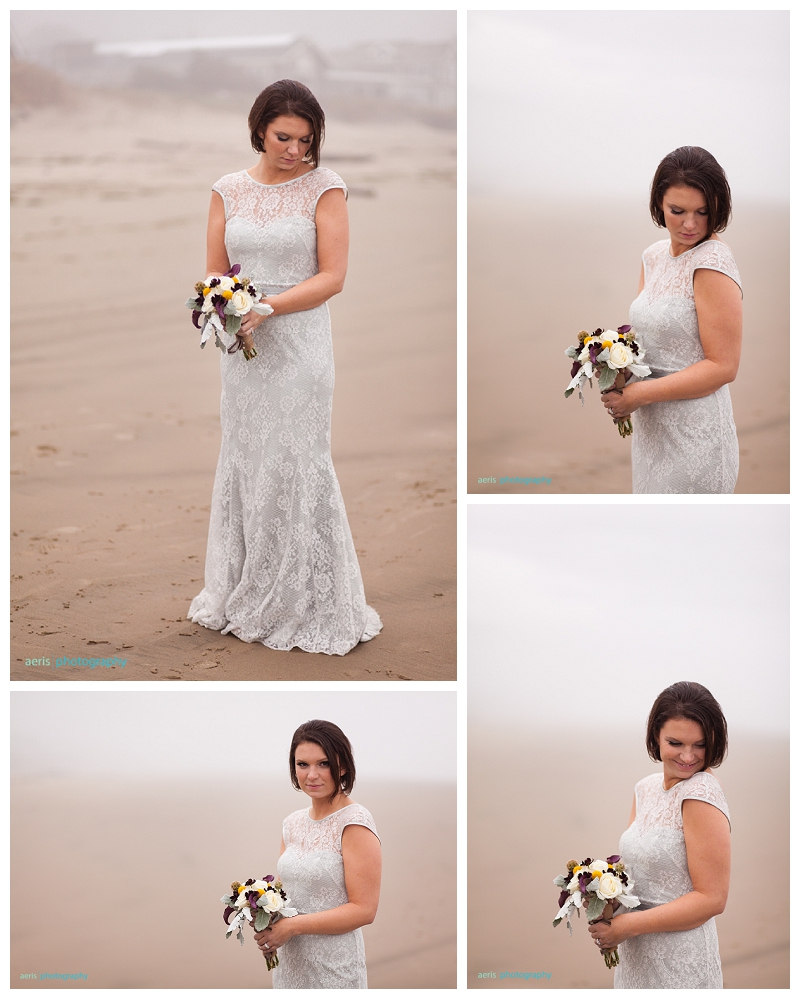
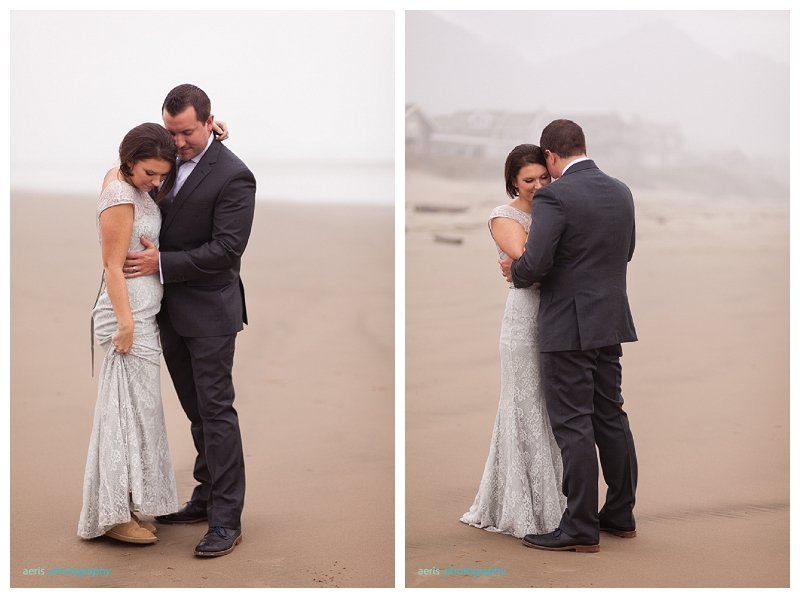
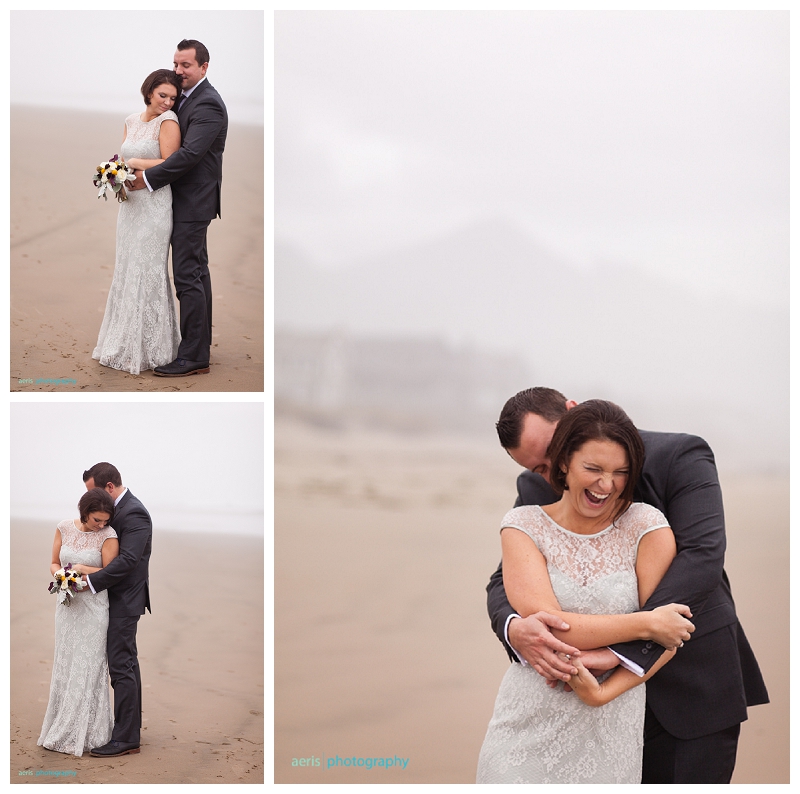
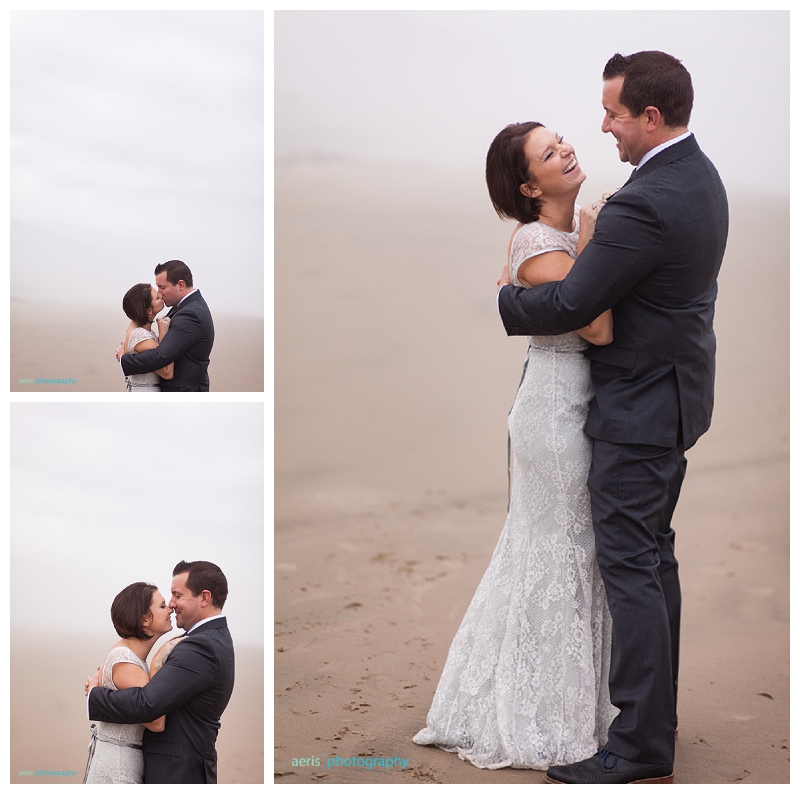
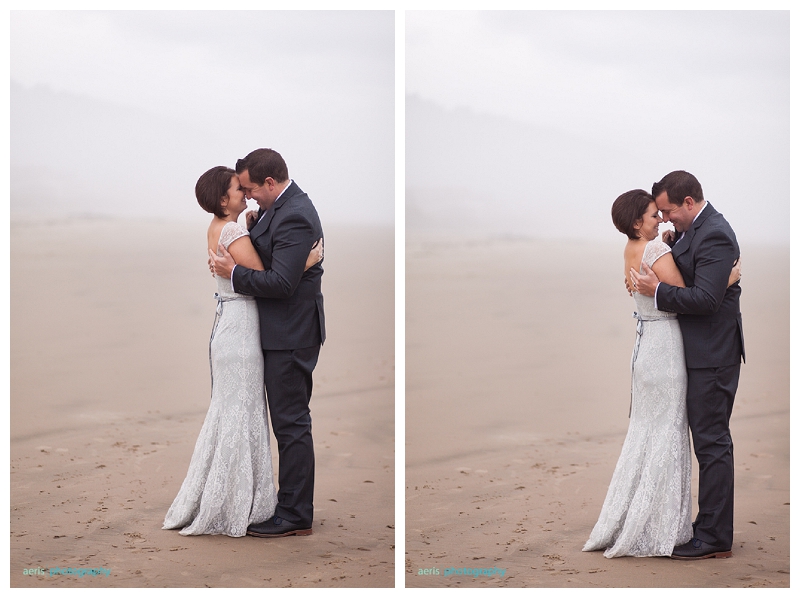
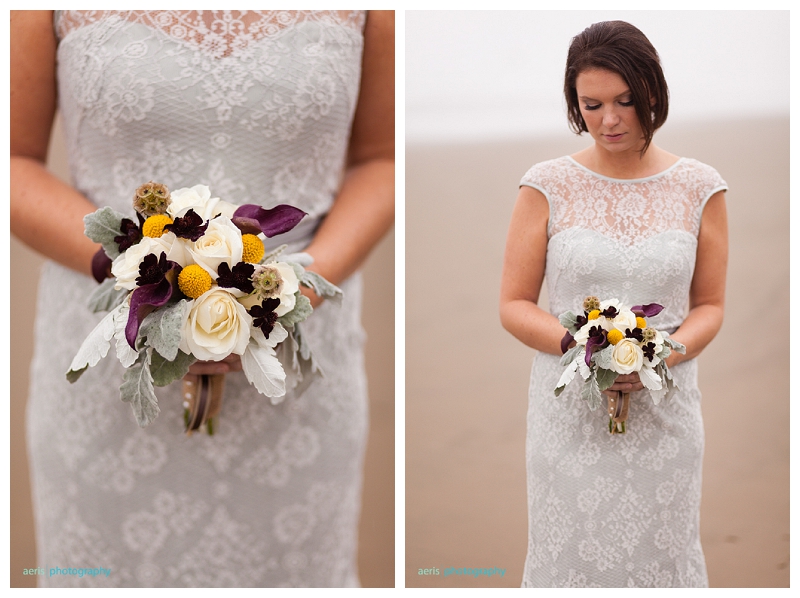
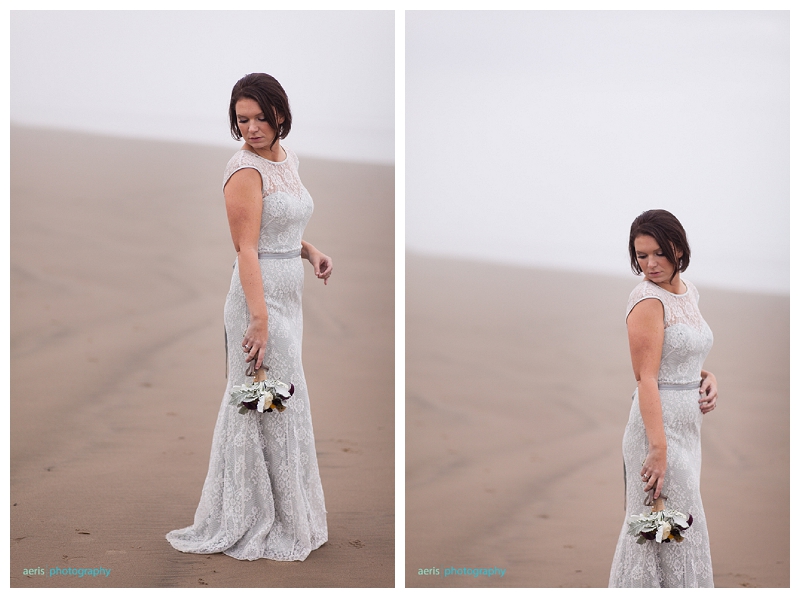
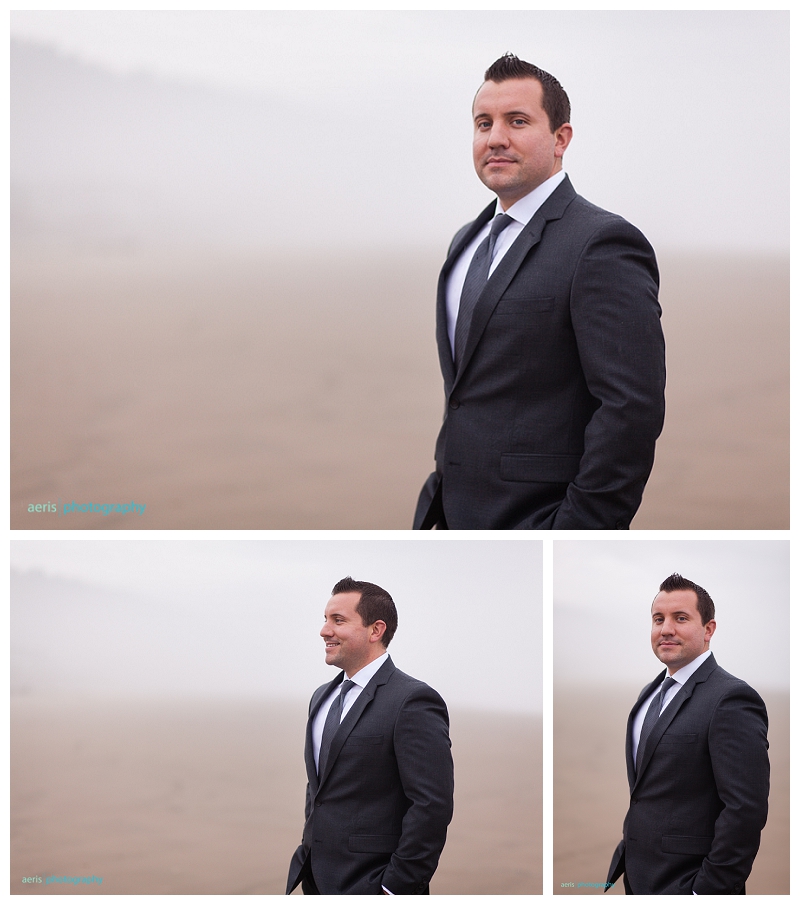
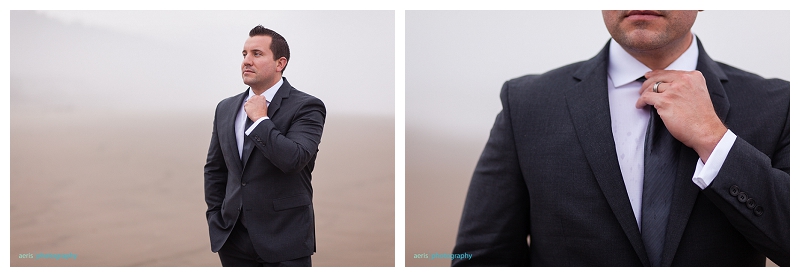
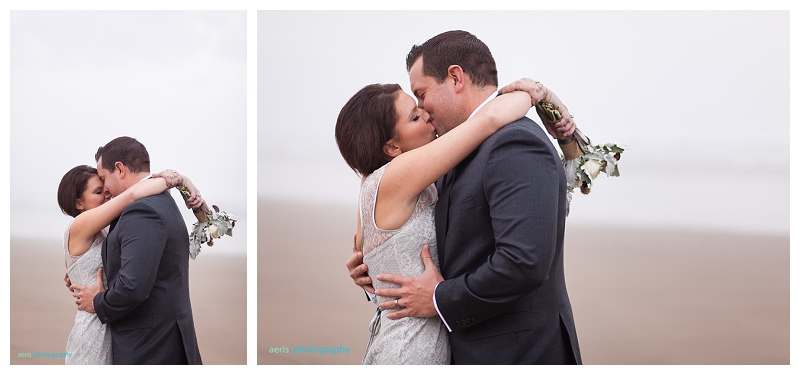
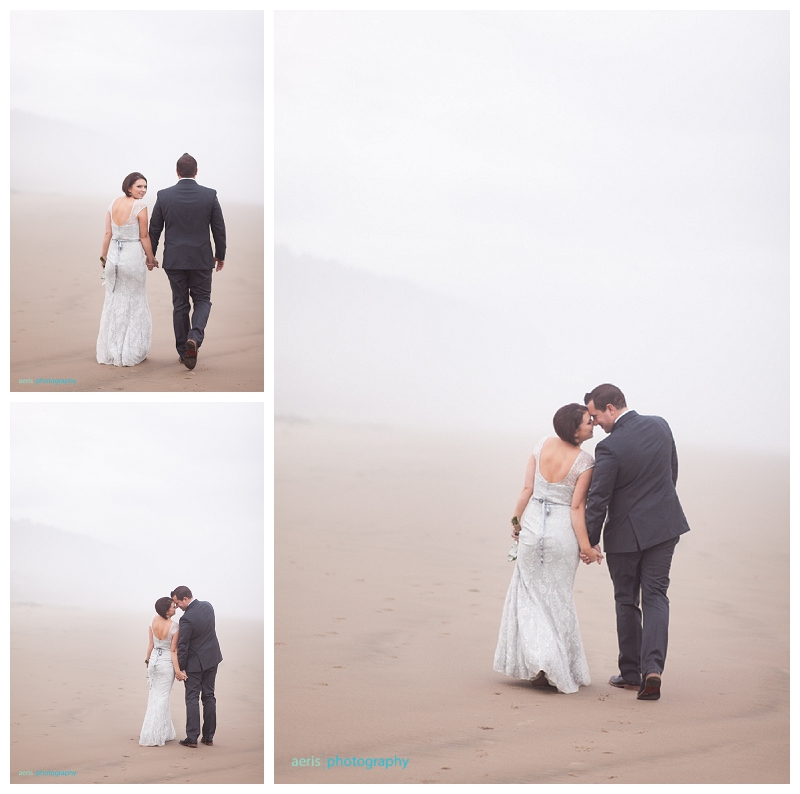
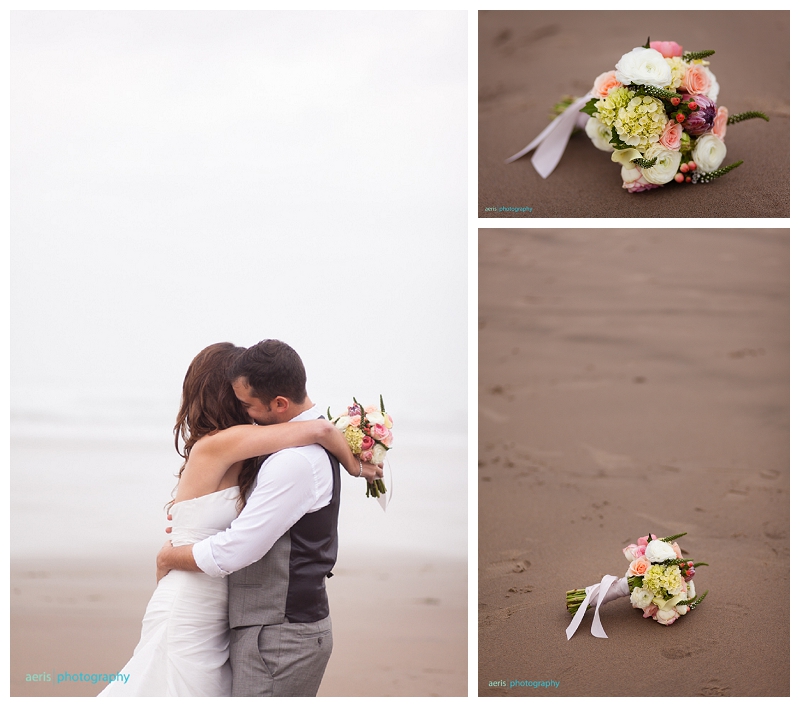
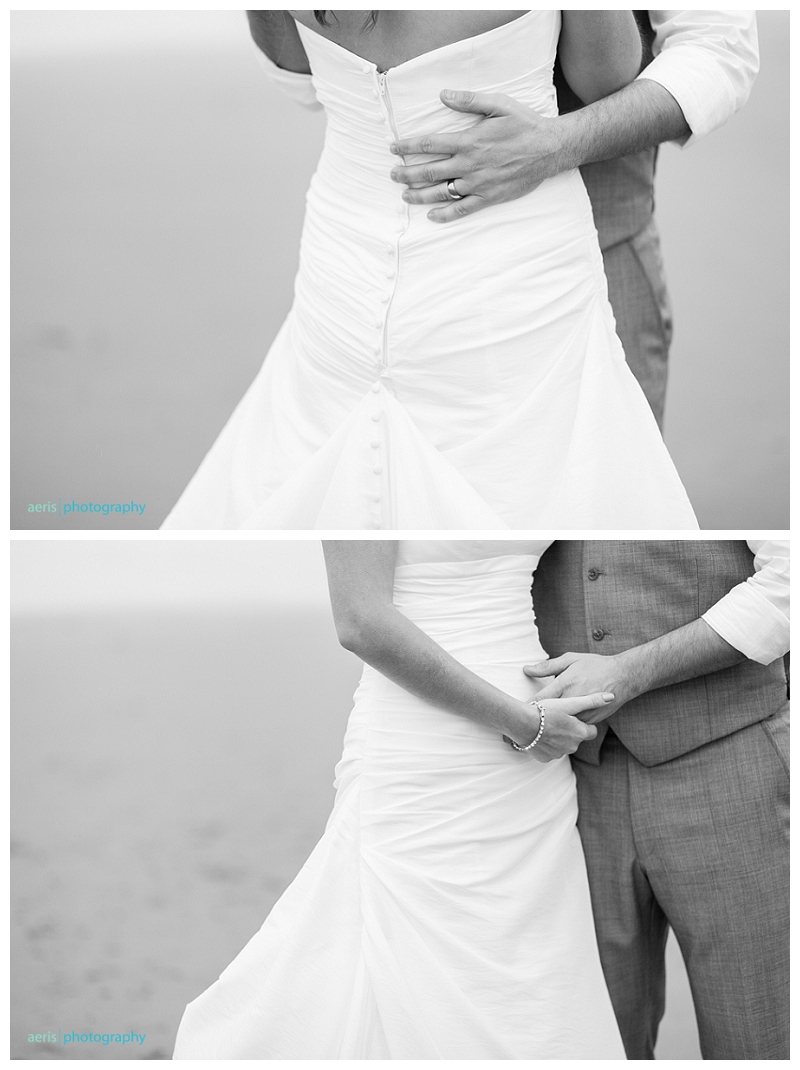
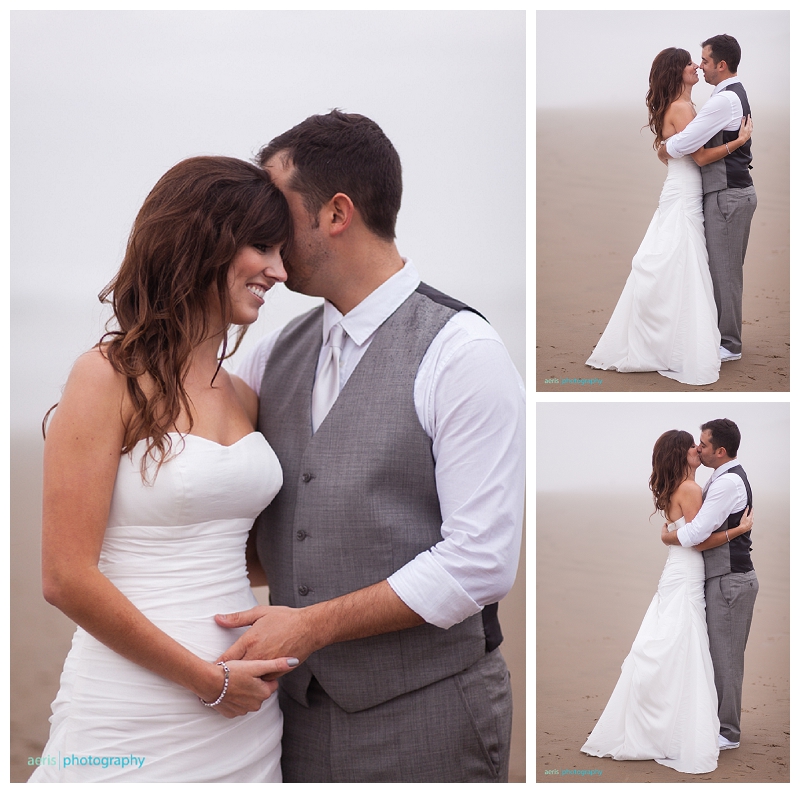
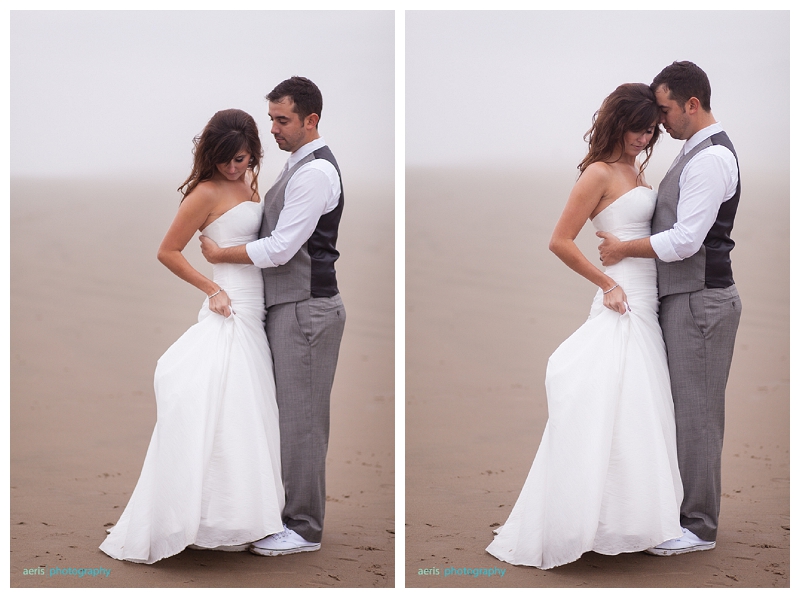
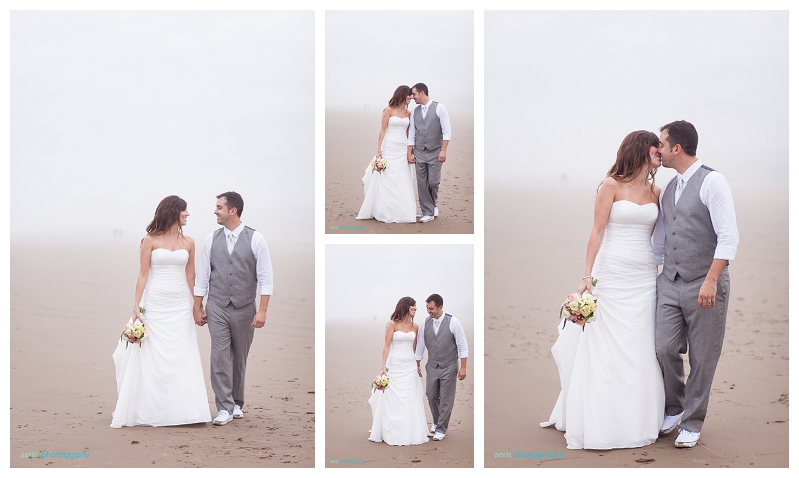
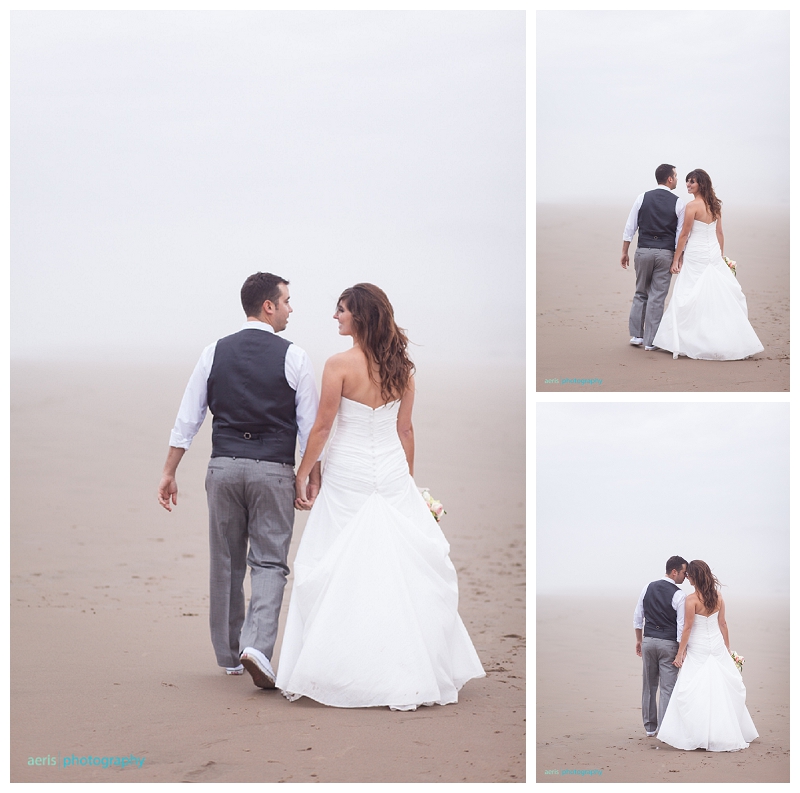
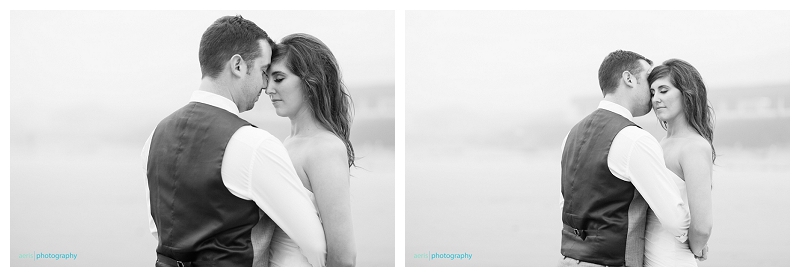
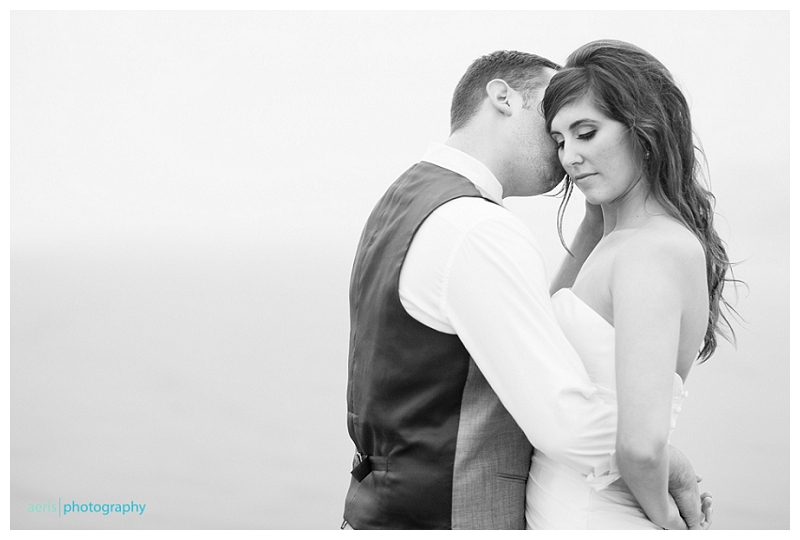
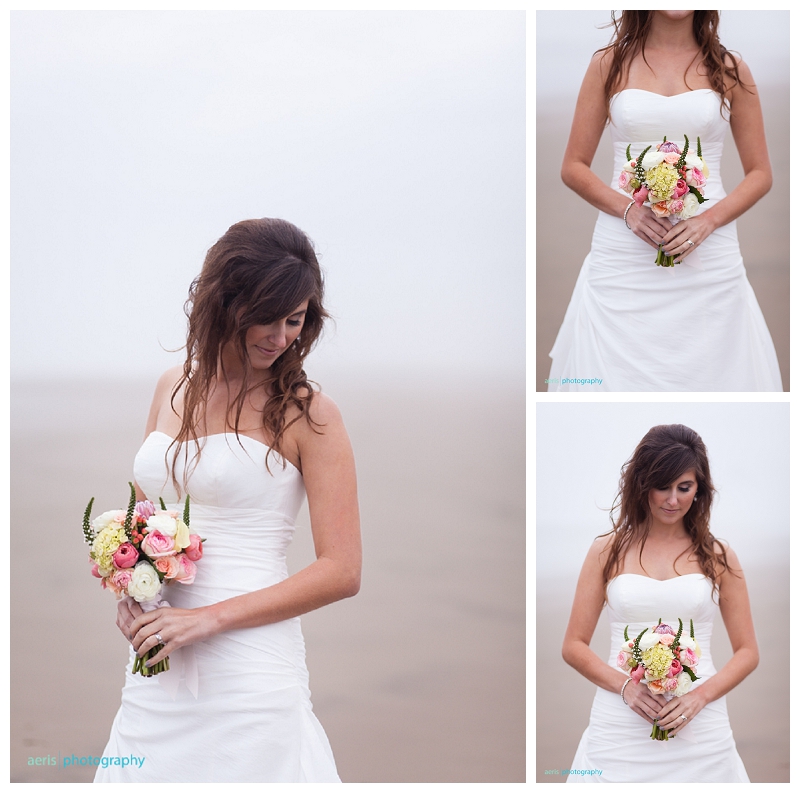
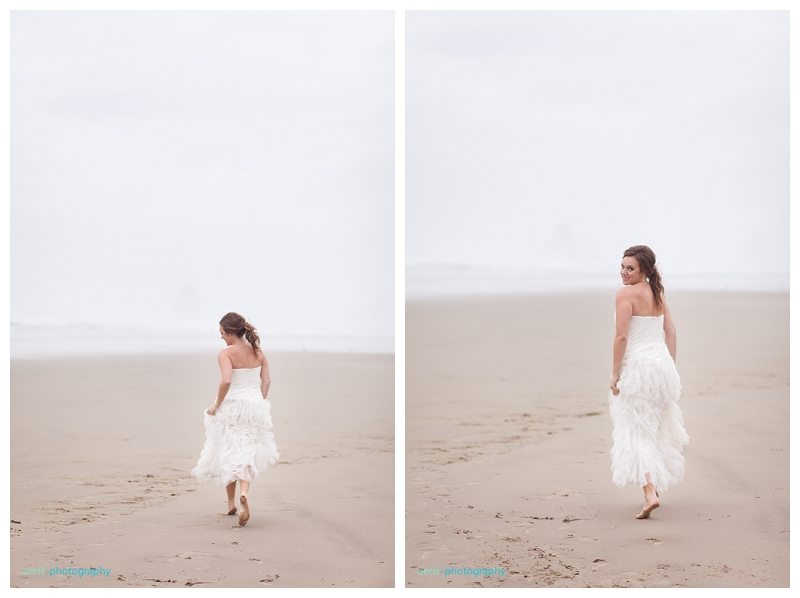
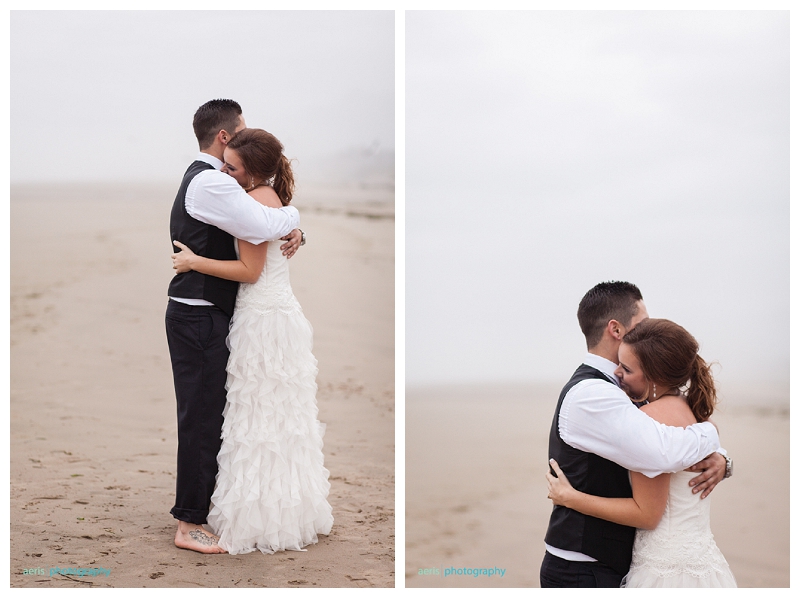
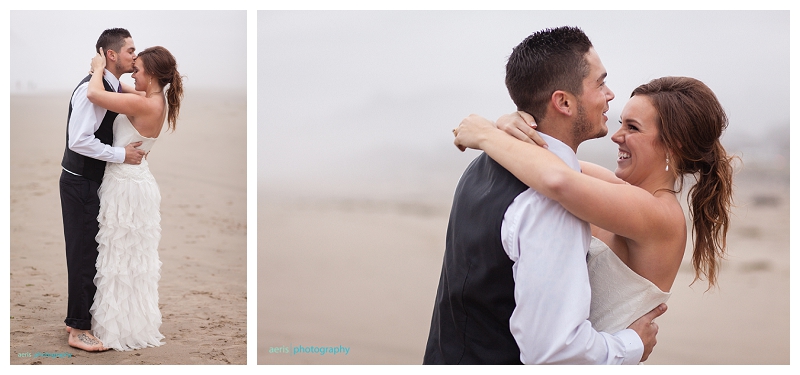
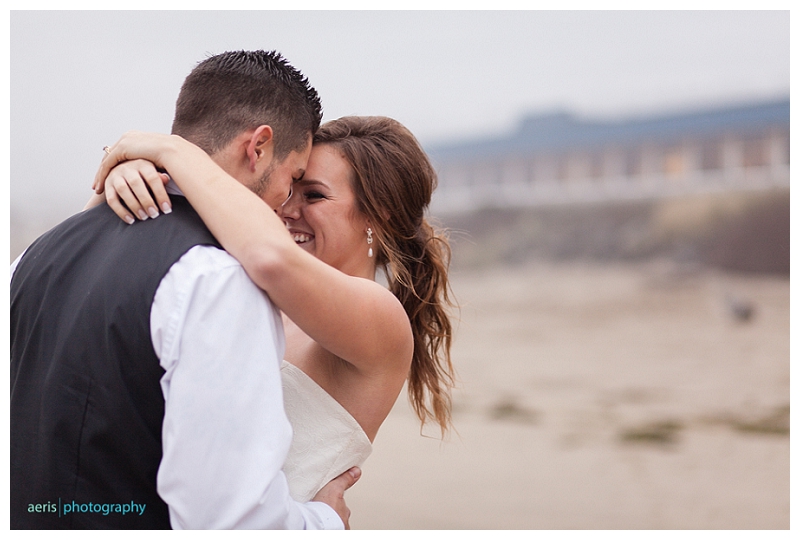
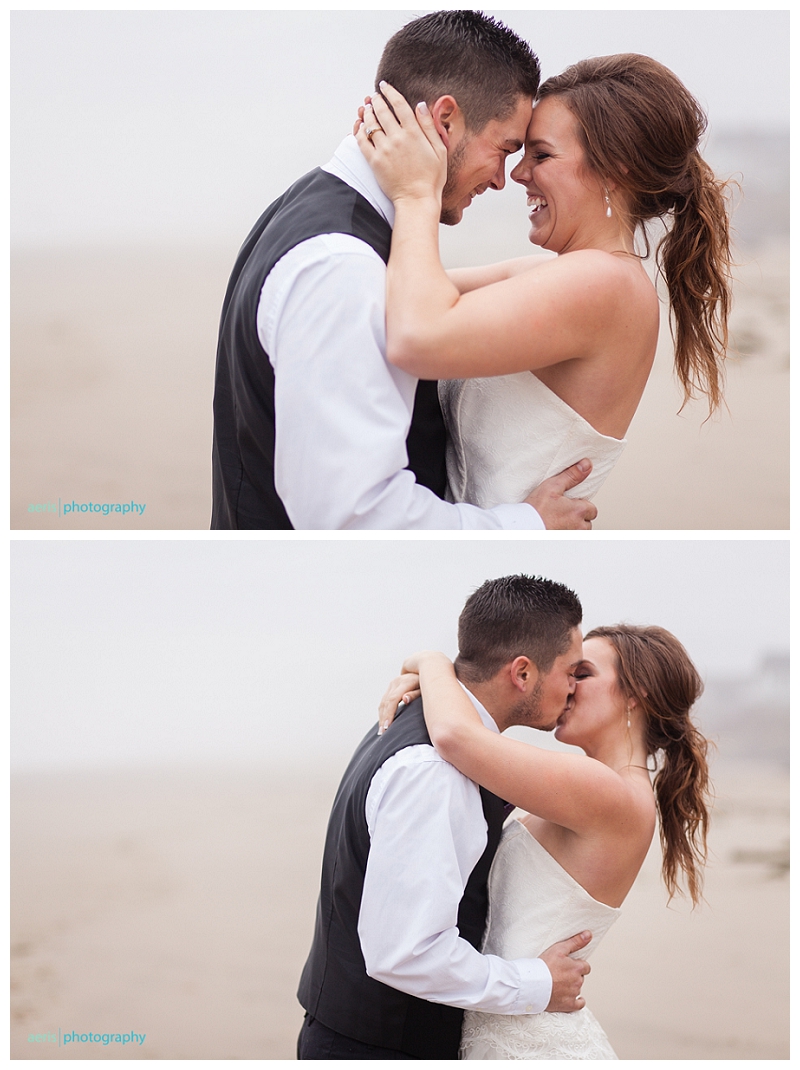
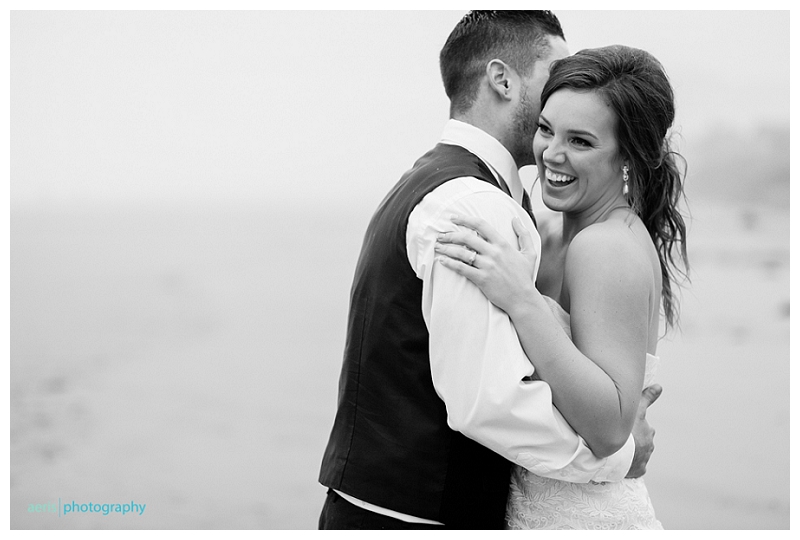
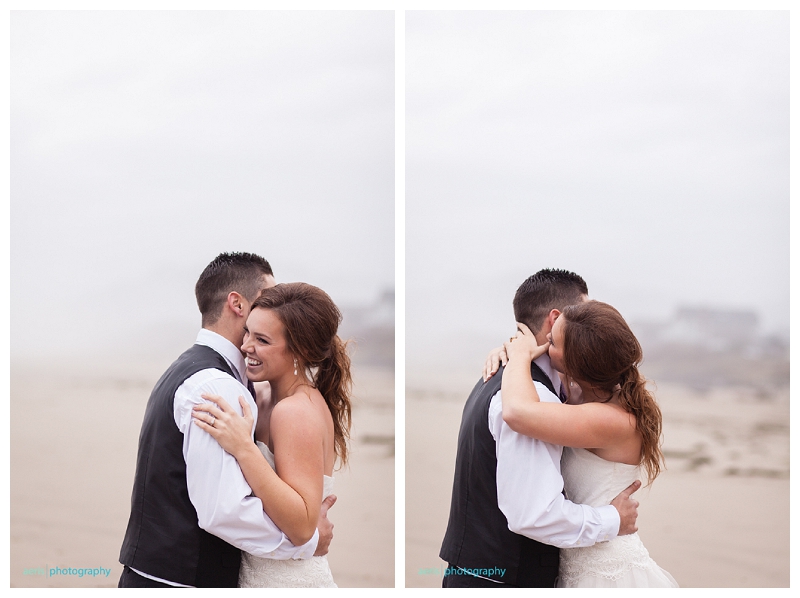
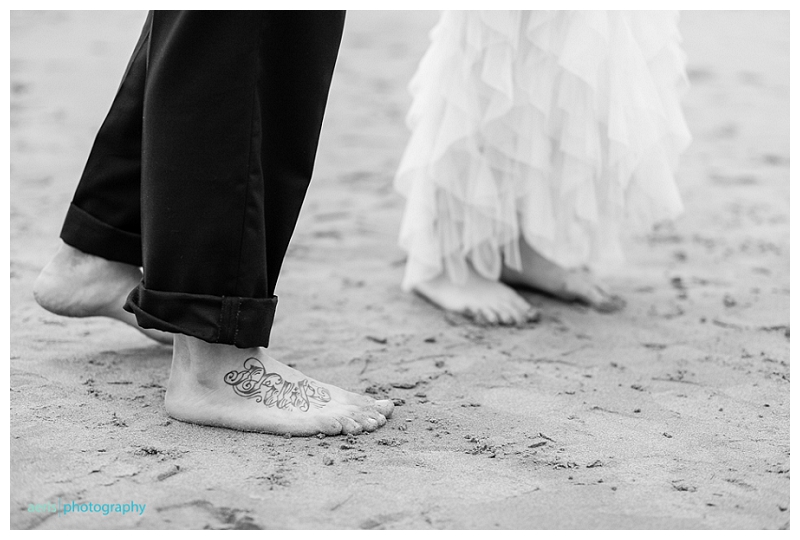
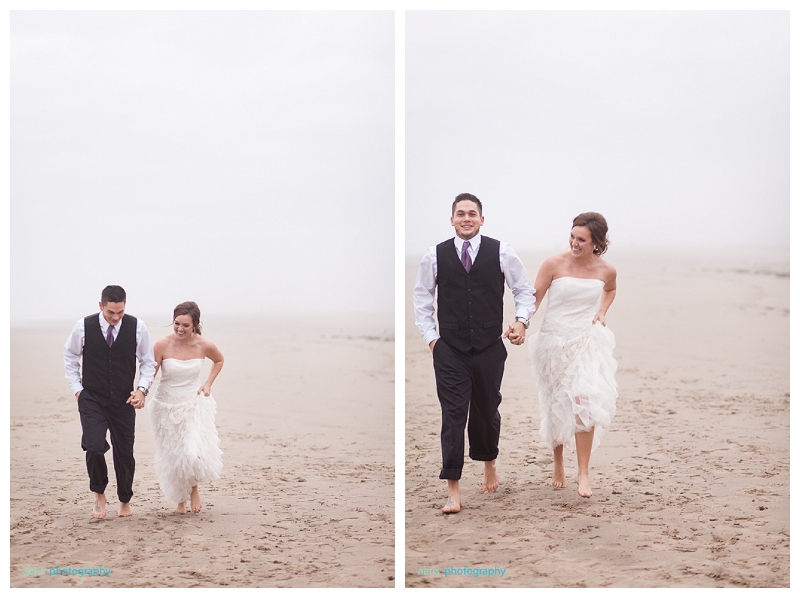
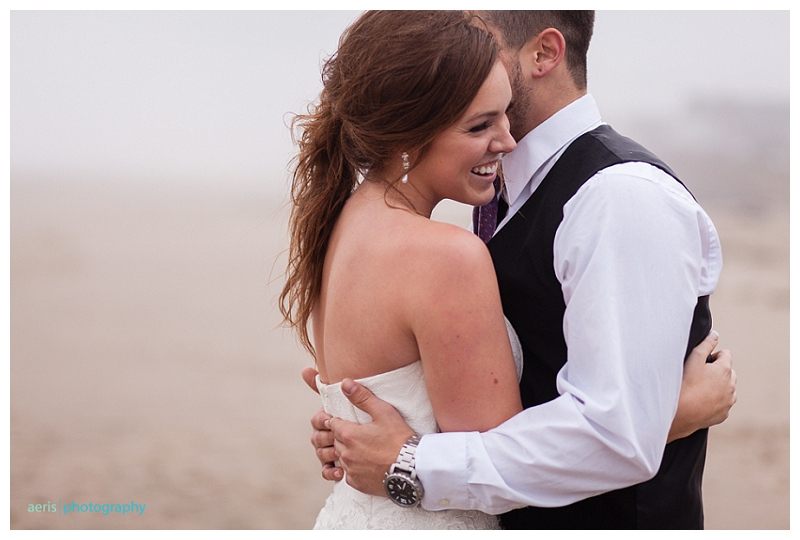
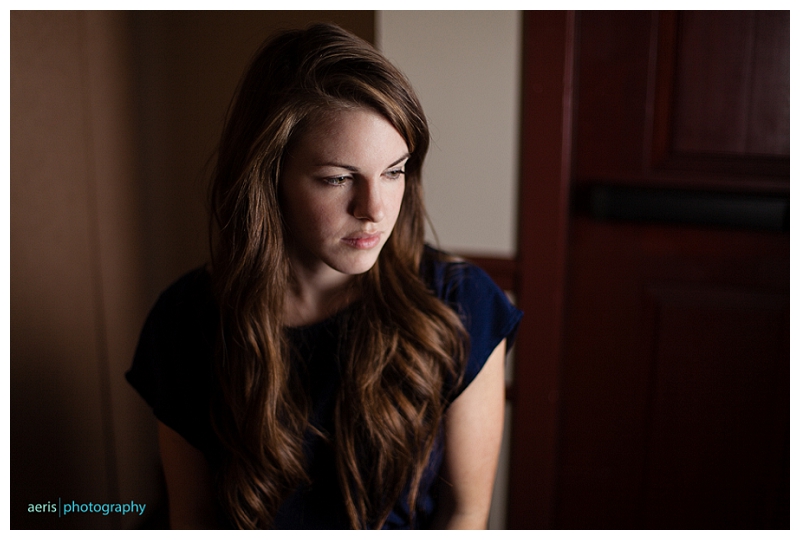
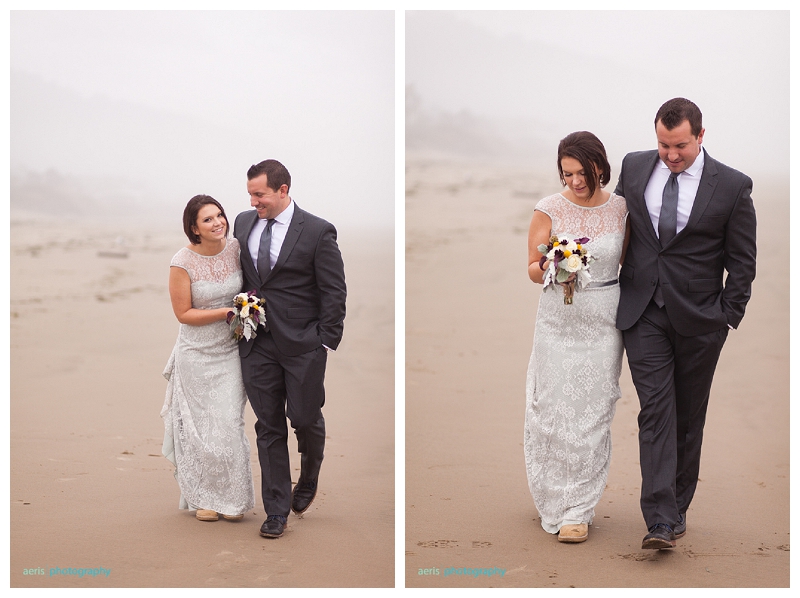
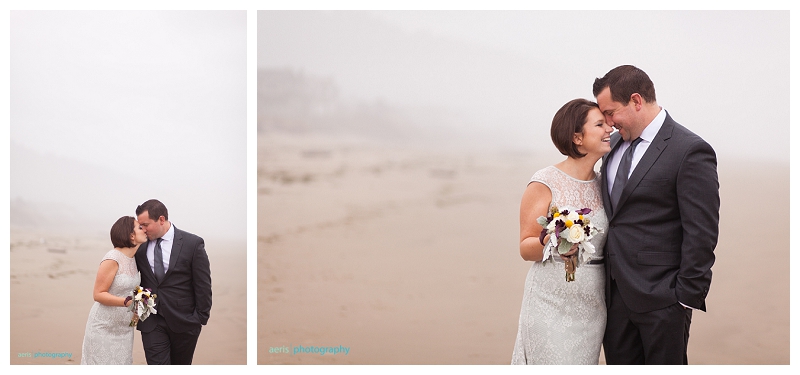
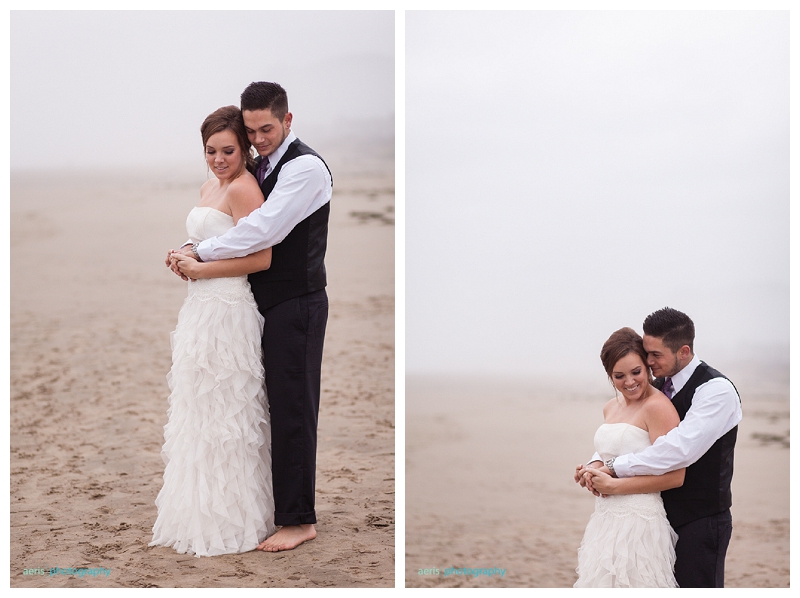
Here's a look at some images I took during the time we had to practice "the art of authentic posing" one on one with our workshop models.
2013-11-16_0001.jpg 2013-11-16_0002.jpg 2013-11-16_0003.jpg 2013-11-16_0004.jpg 2013-11-16_0005.jpg 2013-11-16_0006.jpg 2013-11-16_0007.jpg 2013-11-16_0008.jpg 2013-11-16_0009.jpg 2013-11-16_0010.jpg 2013-11-16_0011.jpg 2013-11-16_0012.jpg 2013-11-16_0013.jpg 2013-11-16_0014.jpg 2013-11-16_0015.jpg 2013-11-16_0016.jpg 2013-11-16_0017.jpg 2013-11-16_0018.jpg 2013-11-16_0019.jpg 2013-11-16_0020.jpg 2013-11-16_0021.jpg 2013-11-16_0022.jpg 2013-11-16_0023.jpg 2013-11-16_0024.jpg 2013-11-16_0025.jpg 2013-11-16_0026.jpg 2013-11-16_0027.jpg 2013-11-16_0028.jpg 2013-11-16_0029.jpg 2013-11-16_0030.jpg 2013-11-16_0031.jpg 2013-11-16_0032.jpg 2013-11-16_0033.jpg 2013-11-16_0034.jpg 2013-11-16_0035.jpg 2013-11-16_0036.jpg 2013-11-16_0037.jpg 2013-11-16_0038.jpg2013-11-16_0039.jpg

Since you're here you should check out more of my weddings here :)

off-camera flash. some recent learnings from Justin and Mary's "lighting intensive" workshop. by Cheryl Lukasewich

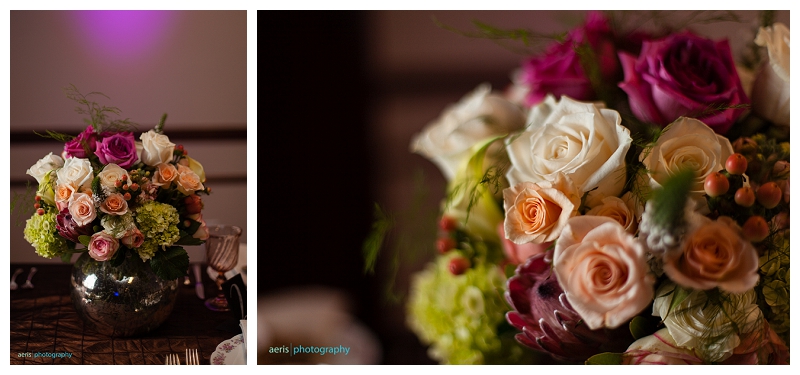
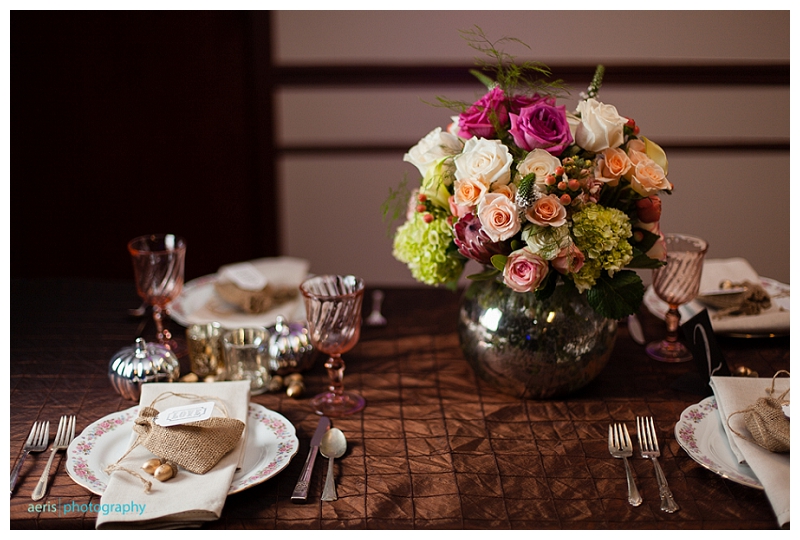
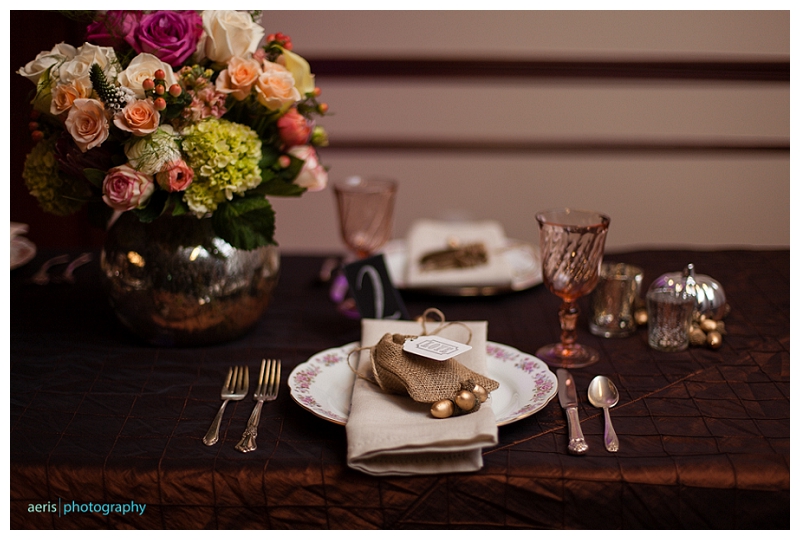
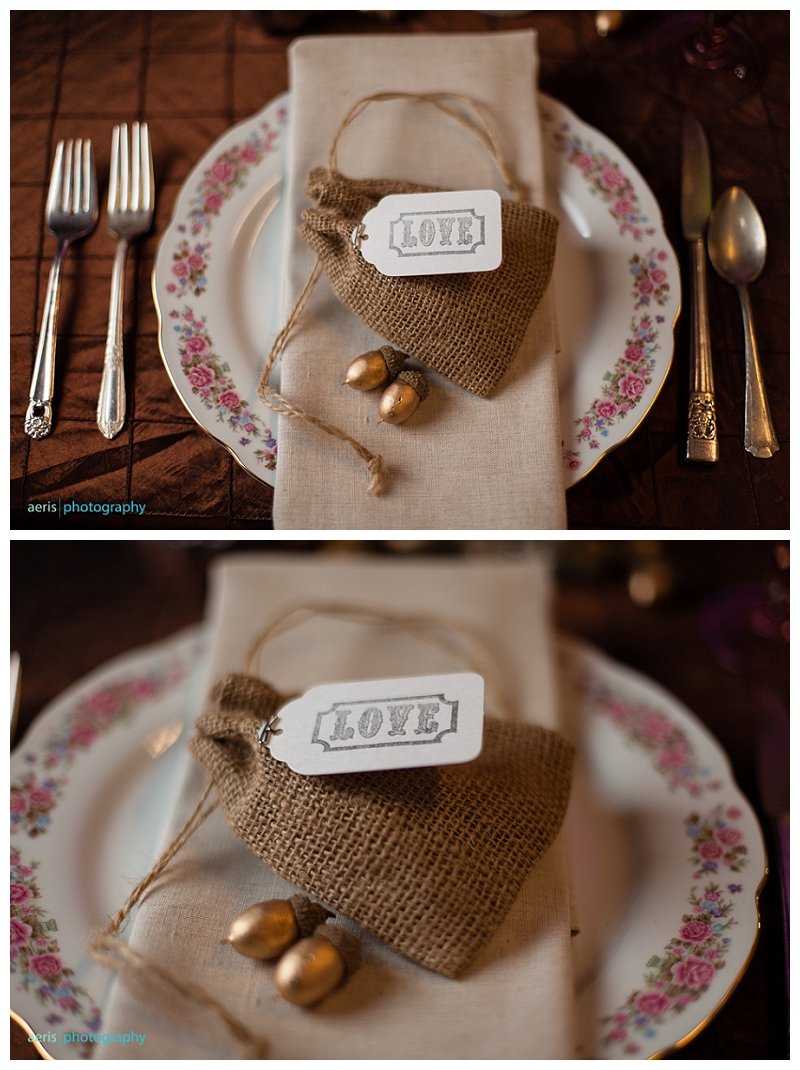
Ok. So I recently attended two different workshops put together by photographer couple Justin and Mary Morantz from Justin and Mary. The first day's workshop was called "Lighting Intensive" and revolved around understanding and using natural light and a one-light setup to shape light, making it work for you to create a more dynamic image. My mind and heart have been churning and bursting at the seams as I've tried to digest this yummy new information and figure out how to implement what I've learned in new and practical ways when I shoot. I know it will definitely be a journey to make this stuff come "naturally" but I LOVE the journey! How exciting to know that I can continually learn and grow! The following images show a typical tablescape setup complete with a floral centrepiece, tableware and a wedding favor. I've heard a lot of different ways of how to capture details - my go-to has almost always been using either only ambient light (no flash) or using my on-camera flash pointed straight up to bounce directly off the ceiling. I have no qualms with these methods as, obviously, they've worked (well, worked enough) for me in the past but I'm utterly convinced that what I've learned takes things up a notch.   Working with off-camera flash can be really daunting which is why I've semi-avoided it.  I do use OCF and actually study new information when I find it but it often feels like trial and error rather than practicing a science, you know? What I learned here is SO SIMPLE, it's bananas.
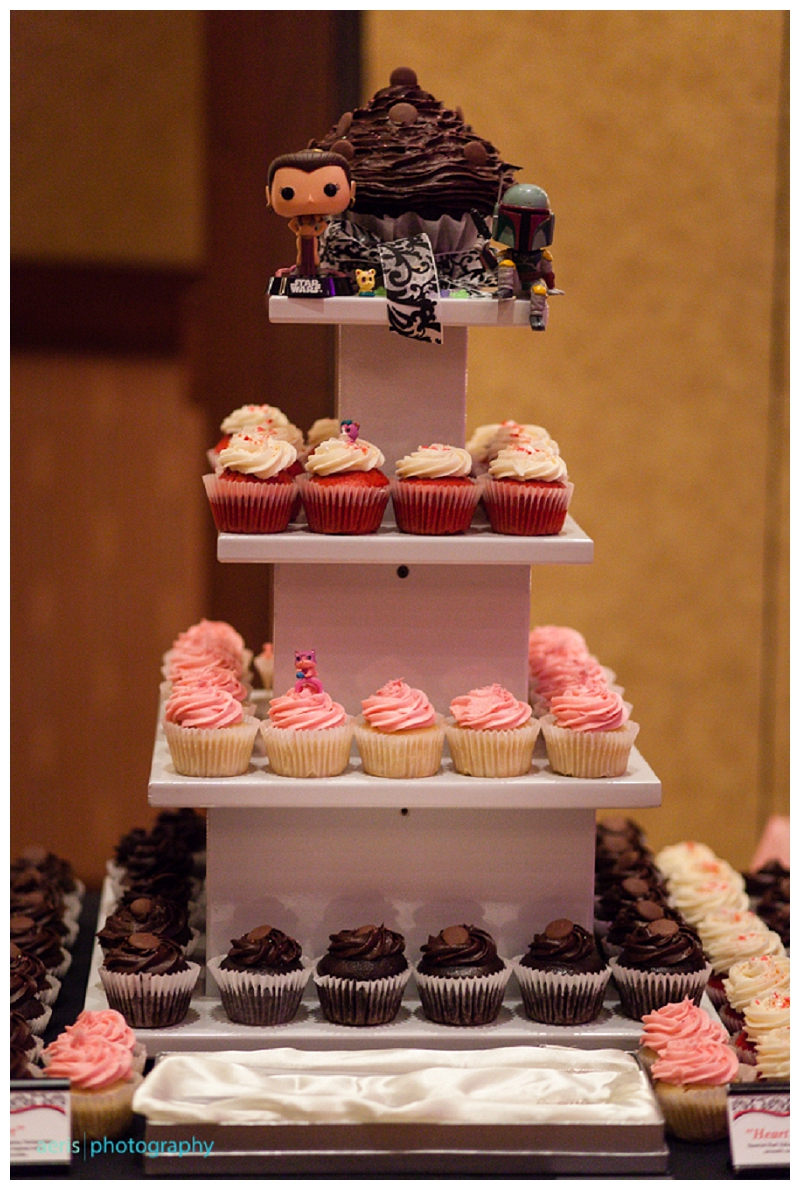
Ok, first let's look at a recent image I took "pre-workshop." The reception venue was quite dark (as most receptions are) and so I lit up this display of capcakes by bouncing my on-camera flash straight up. If you look at the shadows around each of the cupcakes you can see that they aren't super directional - You can tell the light was obviously coming from almost directly above.  (excuse the fact that my blog compresses single portrait-orientation images oddly and makes them look kinda yucky).
2013-11-13_0007.jpg

Now, check out the tablescape images from my workshop. The lighting was, again, quite dark but instead of using my flash on-camera, bounced straight up I used my flash off-camera in a medium-sized softbox. I had an assistant hold the flash directly to the left of the table, angled straight across the table (not angled down towards the table at all). In effect, the flash was 90 degrees from where I was standing. Because the flash is placed inside a softbox the light source becomes 1) larger, 2) less intense and 3) more dimensional. Try to picture where the light is when you look at these.

2013-11-13_0001.jpg 2013-11-13_0002.jpg 2013-11-13_0003.jpg 2013-11-13_0004.jpg

Can you see the difference? It's actually incredibly significant! It's such a simple change but the results make everything more luxurious! I'm in love!

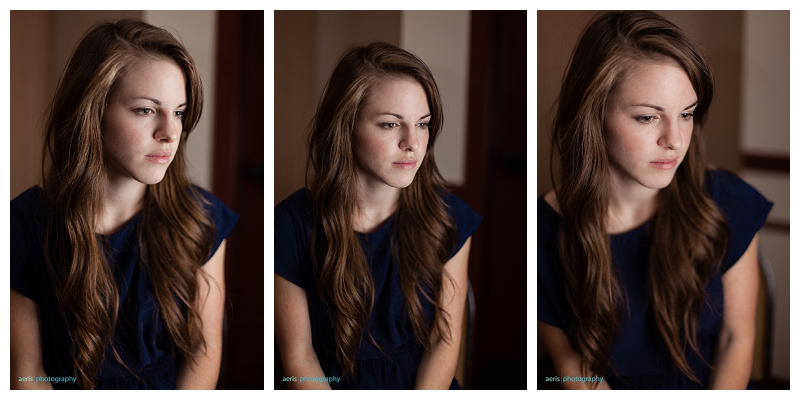
I also tried using this OCF setup (with a softbox) with one of the models in our class. In this triptych I started with my assistant holding the softbox to the right of the model, about 90 degrees from where I was standing. Again, the softbox is directed straight across as opposed to angled down at all. In the centre image I got the assistant to move slightly to her left (the assistant's left; not the models) so she was more around 85 degrees from me. The image on the right I moved my assistant a bit more to about 80 degrees from me. Can you see the subtle differences?

2013-11-13_0006.jpg

I'm in LOVE with this new simple way to "up my game" and can't wait to try it out at my next wedding in December!

2013-11-13_0005.jpg

Interested in off-camera flash? All you need is one flash and a set of wireless remote triggers (there are also triggers that don't have to be wireless but if you're buying them anyways, I'd recommend wireless). One of the triggers attaches to your flash (off-camera) and the other attaches to the hot shoe on your DSLR). If you shoot Canon, you can also invest in 2 of the 600 EX-RT speedlites (which I have) that have the wireless trigger system built right in!! I'm in LOVE with my 600's and would highly recommend this option but prior to this I used a Canon 580 speedlite (no longer in production, I think) and pocket wizards :)  You can find a medium-sized softbox like this one online or at various photography stores around your city.