photography tips

exposure compensation. tips for photographers. edmonton photography. by Cheryl Lukasewich

Quite a while back I received the question "What is exposure compensation and when do I use it?" Exposure compensation is an adjustment you can choose in camera to either add or subtract light in spite of what your in-camera meter is telling you is "correct exposure." Your camera's internal meter indicates the light your camera is reading from your surroundings/subject. Have a look at the tiny little "screen" up near your finger dial or look through your viewfinder and press your shutter half way down as if you're focusing on your subject. Your meter looks like this:
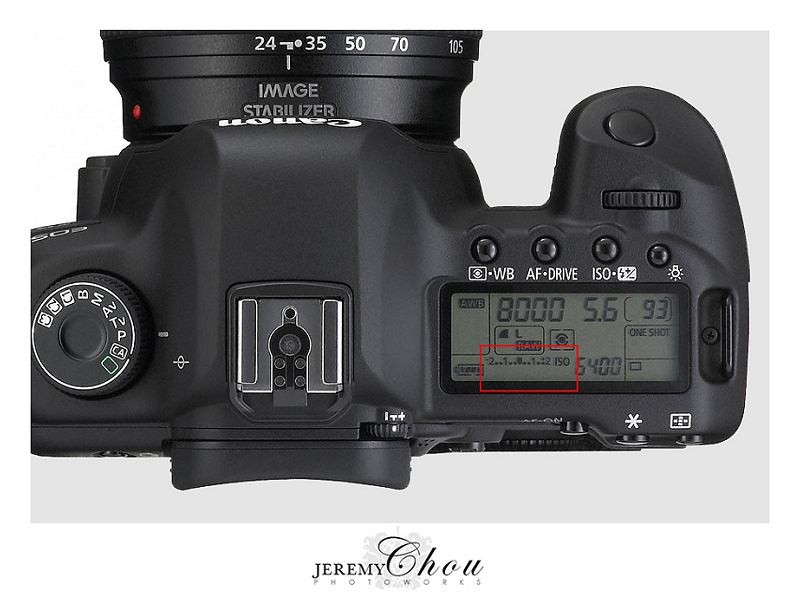
2013-11-28_0002.jpg

So now take your camera and focus on your subject of choice. If your exposure is "correct" then the little ticker/rectangle marker should be directly under the "0". If you are shooting in an automatic or partially automatic mode (A-automatic, TV - Time value/shutter speed priority, AV - Aperture value/aperture priority) then your camera is doing the work to 1) determine how much light is in your "scene" and 2) decide which combination of factors (*ISO, aperture, shutterspeed) to use to allow only the "correct" amount of light in to result in a "correct" exposure. So your camera will do whatever it needs to do to get the ticker under the "0". *Automatic mode will choose all 3 factors for you. In AV mode you choose your aperture and your camera automatically adjusts the remaining two factors. In TV mode you choose your shutter speed and your camera automatically adjusts the remaining two factors, hence these modes being partially automatic as your camera is still making 2/3's of the decision of what to do.

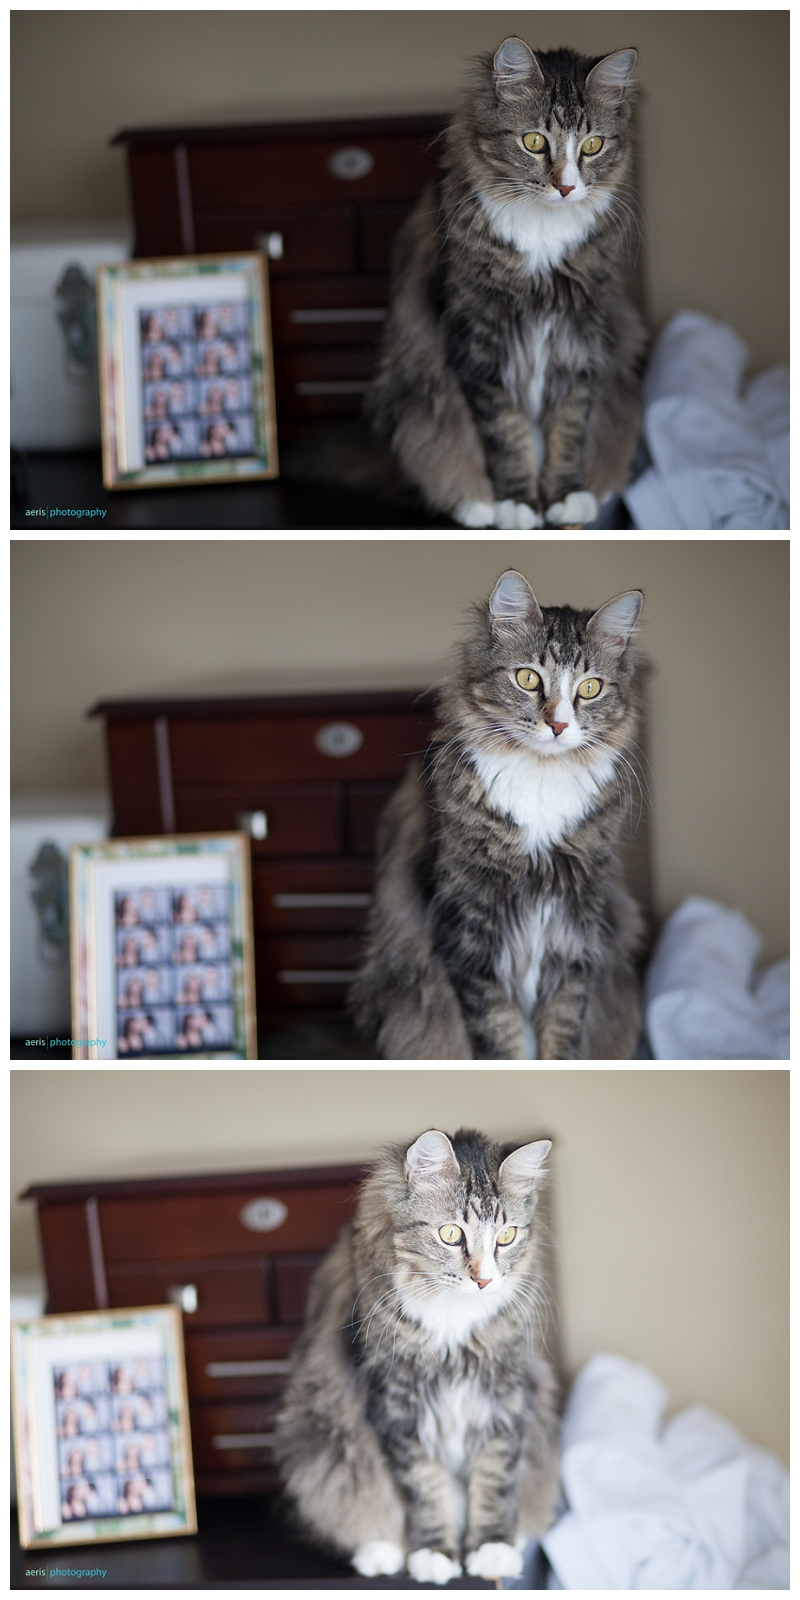
Here's an example using my little stinker, Denny, as a model:

Top photo: underexposed by one stop.

Middle photo: "Correct" exposure.

Bottom Photo: overexposed by one stop.

The "correct" exposure in this image is actually really great which happens in situations where light is closer to "ideal".
2013-11-28_0001.jpg

An example of when to use exposure compensation would be shooting outside on a freezing cold, white-with-snow, Edmonton day like today! Let's say you have your friend standing in front of you outside and there's snow on the ground, snow on the trees, snow everywhere.... If you have your camera set to an automatic/partially automatic mode then your camera looks at the situation (all the snow) and decides "It's so bright!!!" and therefore decides that it needs to let less light in in order to obtain the "correct" exposure (ticker right under the "0"). So, with your camera making the decision then guess what will happen! Your "scene" will be darkened to the "correct" exposure and your friend standing in front of you will be underexposed. Now if you use exposure compensation to tell your camera to overexpose the situation by a Stop or so (a Stop is a measure of light...one stop would be moving your ticker from the "0" to the "1") then even though your camera is still choosing the settings you've told it to expose one stop brighter by default. A little confusing, I know, but hopefully the concept makes sense. Setting exposure compensation varies among camera models so have a look in your camera's manual (or google it) to see how to set your specific camera.

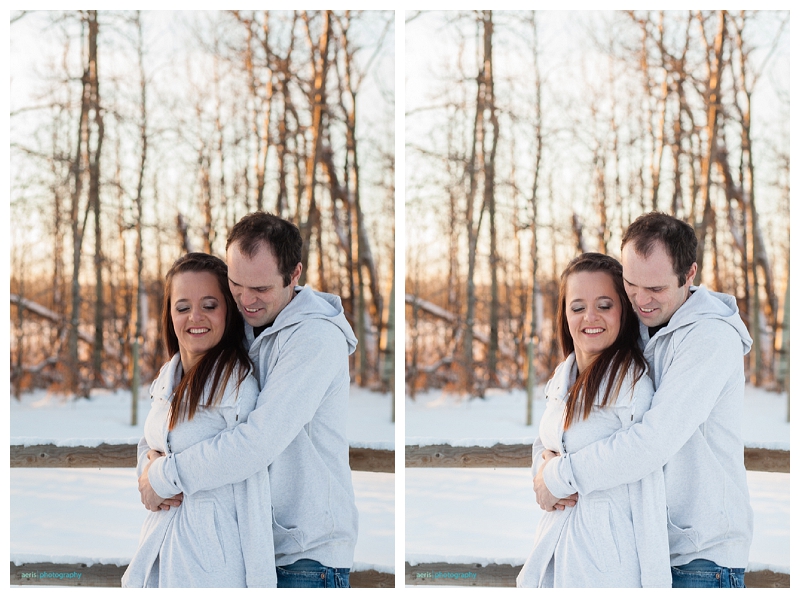
Have a look at an example where I chose to over-expose in a snowy environment:
2013-11-28_0003.jpg

Ok, now I need to clarify: I NEVER use exposure compensation. I 100% believe that it's not worth having an amazing DSLR camera unless you shoot in Manual mode. Manual mode allows you to choose and control every single thing about your camera in order to achieve the affects you want. Again, it's my personal opinion, but I'm the photographer so I should be calling the shots. I don't like my camera choosing what it wants so I've invested a lot of time in learning how I get to tell my camera what to do. The same concept of exposure compensation can be utilized when shooting in manual it's just that I'm the one deciding when and where to manually bump up (or down) my exposure to get the look I want. The couple's snowy photo above?  The "correct" exposure on the left had their faces too dark due to all the "brightness" detected in the surroundings so I simply over-exposed manually for the situation :)


Have a question you'd like answered in a blog post?  I'd be happy to do my best to answer your photography queries!

my why. part two of my reflections on "the art of authentic posing" workshop by justin and mary. by Cheryl Lukasewich

As you may know I recently attended 2 incredible workshops hosted by the incredible photography duo Justin and Mary. Day one's workshop was all about using natural light and off-camera flash to create dimensional, luxurious images. Day two's workshop, "The Art of Authentic Posing", was yes, about posing but it went deeper than that. I recently blogged another part of my reflections on this workshop (my WHY) which I'd encourage you to look at here. Today's blog post covers a different "Why": When we're striving to capture the love between two people - their hearts, their essence, their passions and love for each other - WHY do we pose them the way we do? Have you ever seen (or done yourself?) one of the following poses when looking at couple's photography?

-the "we look mad at each other" pose - the "we've been doing the dip-kiss pose for 2 minutes straight and now it's getting uncomfortable" pose -the "form a heart with our hands" pose -the "make the bride sit in the middle of the highway" pose -the "let's all jump at once" pose -the "straddle each other" pose -the "bride sits on the ground and her flowers are placed on her train" pose

(for the record, I've done almost all of the above in some form or another since I started photography...).

How about photo editing?:

-the "everything is in black and white except the eyes/flowers/garter/etc." selective color edit -the "green or orange tint" edit -the "reduce clarity dramatically so the image seems dream-like" edit -the "add in clouds-that-weren't-there" edit -the "faces superimposed onto an wine glass/bubble/background" edit

No doubt you've seen a lot, if not all, of these things (I've seen each one on Pinterest with a "MUST have my photographer shoot this" caption. So here's the question: WHY?

Justin and Mary put out the "Why" question as a bit of a challenge. When creating an in image why do we pose couples the way we do? (Editing the way we do is just as relevant). Are you photographing a couple jumping because it actually sums up their personalities and the energy of the day (or better yet, because you caught them jumping around when no one was really watching)? If so, then jump on! Do you have a "dip" shot because your groom grabbed his new bride and made her knees week? If so, rock it out!! If you have a WHY that backs up what you're doing with your couples then go for it! If you don't have a WHY - well then, why are you doing it? Are you doing "selective color" editing because you it's stunning and a timeless addition to a couple's wedding album? Then color selectively!....(that's hard for me to say but if you have a legit WHY...). You get the point, right? It's not that one person's posing and editing is necessarily better than anothers but HAVE A "WHY"! The goal is to create something authentic so just promise me this and ask yourself "Why?" Yes?? Yes!
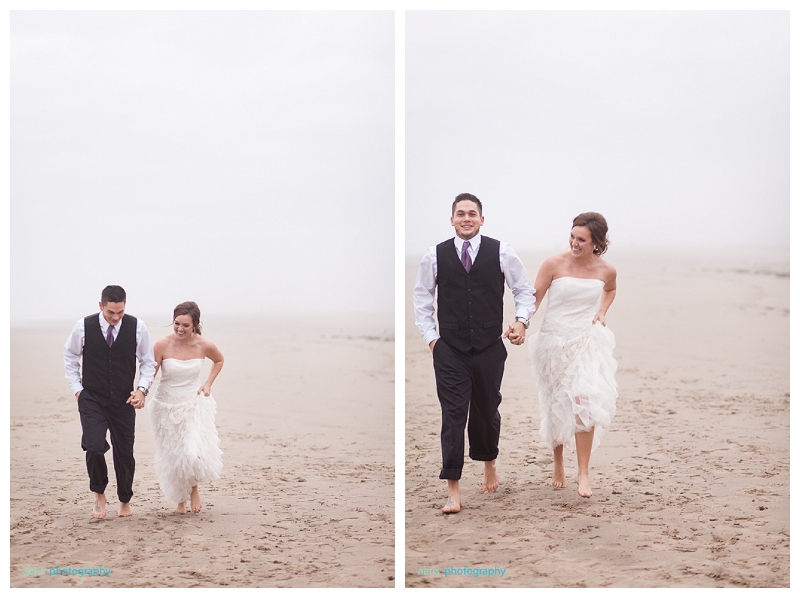
If you want to photograph (and pose) couple's authentically then seek out that authentic moment! If you're with the couple for formals and they're no longer in an "organic/photo-journalistic" scenario (eg. you're no longer photographing them candidly as they get ready in their hotel room and have moved them to, for example, a field) then do your best to create and facilitate an environment wherein you CAN capture authentic moments. A couple in love is an authentic thing - couples touch, sway, laugh, kiss - so focus on giving couples opportunities to BE IN those natural moments! Your WHY is going to show through in your images and will hopefully attract the type of couples that can identify with you. So no matter what your WHY may be you'll be able shoot more weddings with your dream clients because you've connected with them more deeply than just at a coffee meeting!
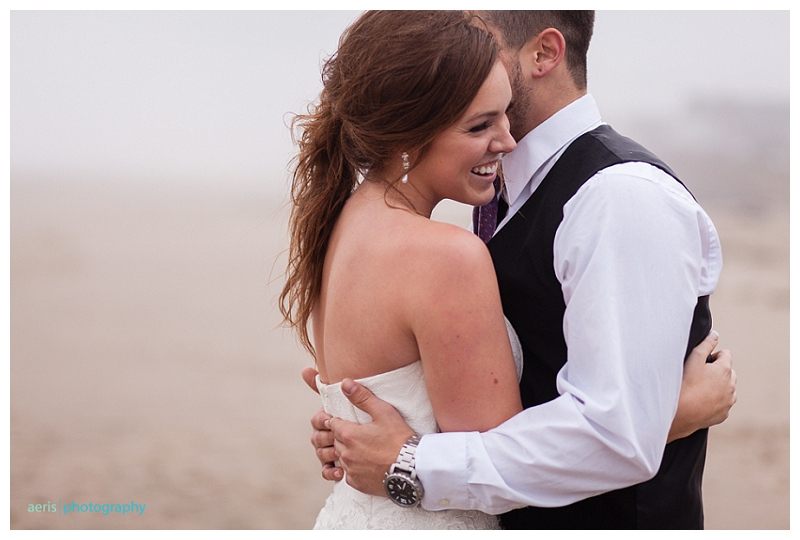
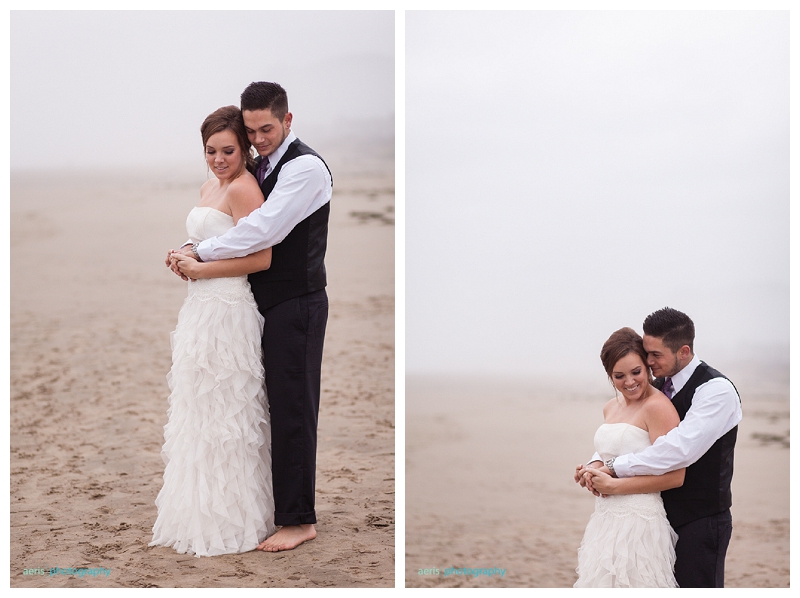
I would actually love your feedback on this blog post if you have an opinion. Do you agree/disagree? Have you thought about your WHY? Something to ponder :)

Are you connecting with and excited about what I'm talking about? Looking for your own wedding photographer and think we'd mesh? Shoot me an email and we can get together to chat and see if we're a good fit!

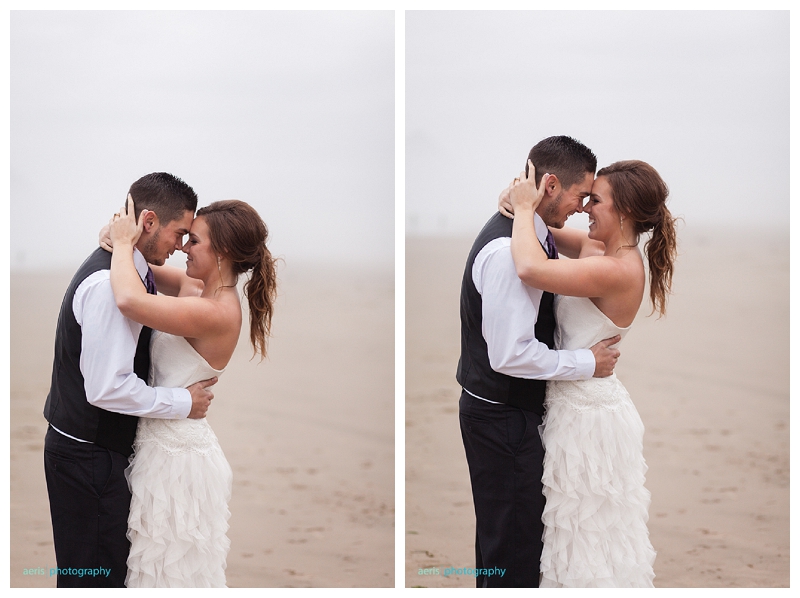
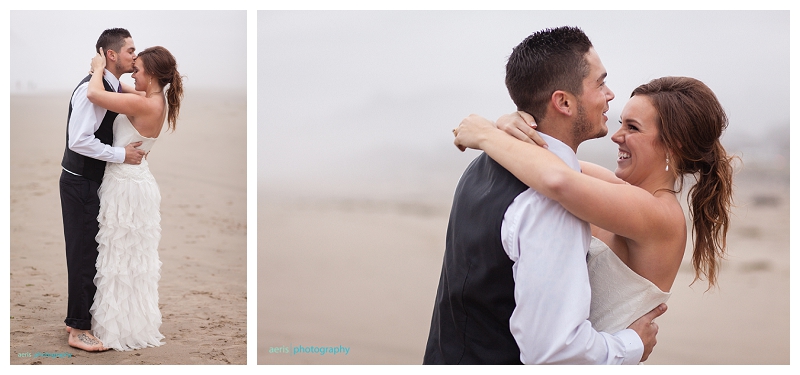
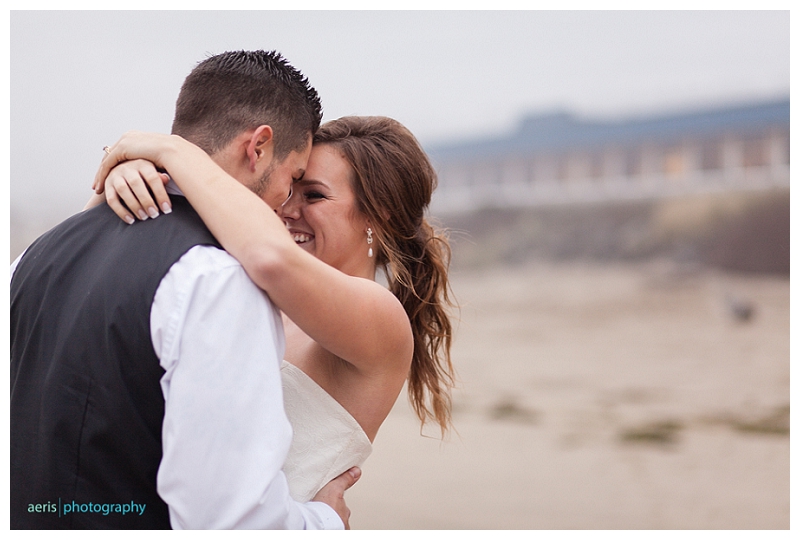
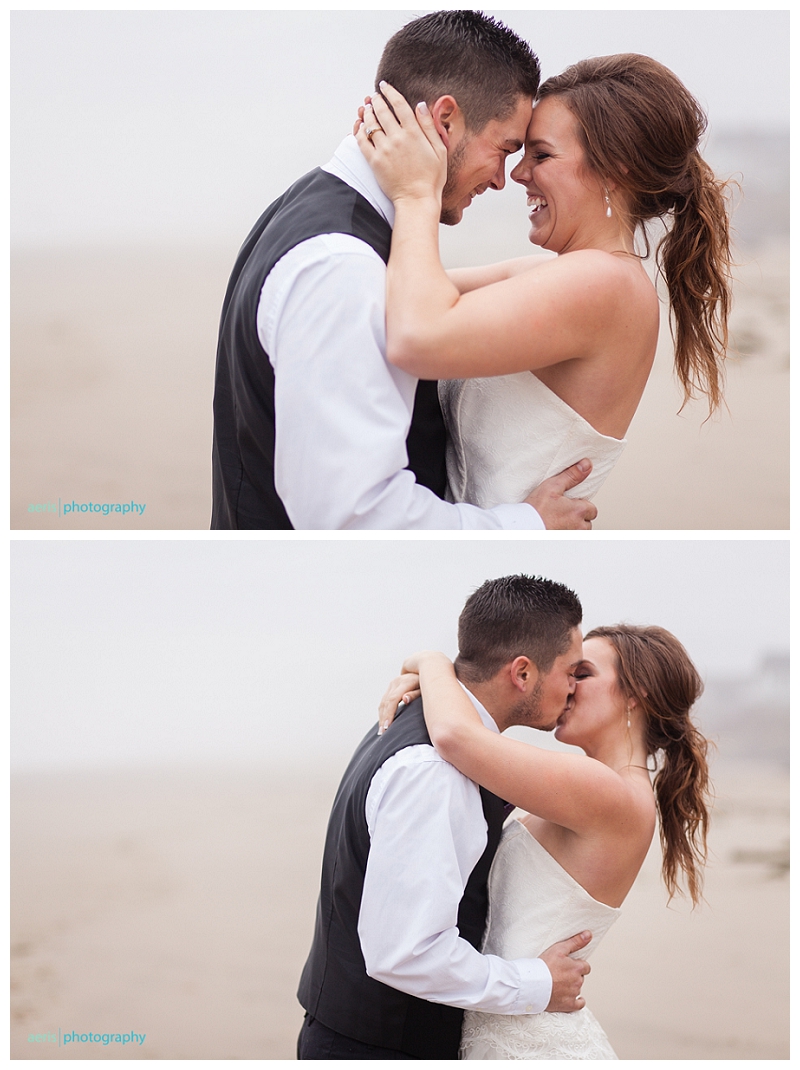
Here's a look at some images I took during the time we had to practice "the art of authentic posing" one on one with our workshop models.

2013-11-16_0001.jpg 2013-11-16_0002.jpg 2013-11-16_0003.jpg 2013-11-16_0004.jpg 2013-11-16_0005.jpg 2013-11-16_0006.jpg 2013-11-16_0007.jpg 2013-11-16_0008.jpg 2013-11-16_0009.jpg 2013-11-16_0010.jpg 2013-11-16_0011.jpg 2013-11-16_0012.jpg 2013-11-16_0013.jpg 2013-11-16_0014.jpg 2013-11-16_0015.jpg 2013-11-16_0016.jpg 2013-11-16_0017.jpg 2013-11-16_0018.jpg 2013-11-16_0019.jpg 2013-11-16_0020.jpg 2013-11-16_0021.jpg 2013-11-16_0022.jpg 2013-11-16_0023.jpg 2013-11-16_0024.jpg 2013-11-16_0025.jpg 2013-11-16_0026.jpg 2013-11-16_0027.jpg 2013-11-16_0028.jpg 2013-11-16_0029.jpg 2013-11-16_0030.jpg 2013-11-16_0031.jpg 2013-11-16_0032.jpg 2013-11-16_0033.jpg 2013-11-16_0034.jpg 2013-11-16_0035.jpg 2013-11-16_0036.jpg 2013-11-16_0037.jpg 2013-11-16_0038.jpg2013-11-16_0039.jpg

Since you're here you should check out more of my weddings here :)

my gear. tips for wedding photographers. by Cheryl Lukasewich

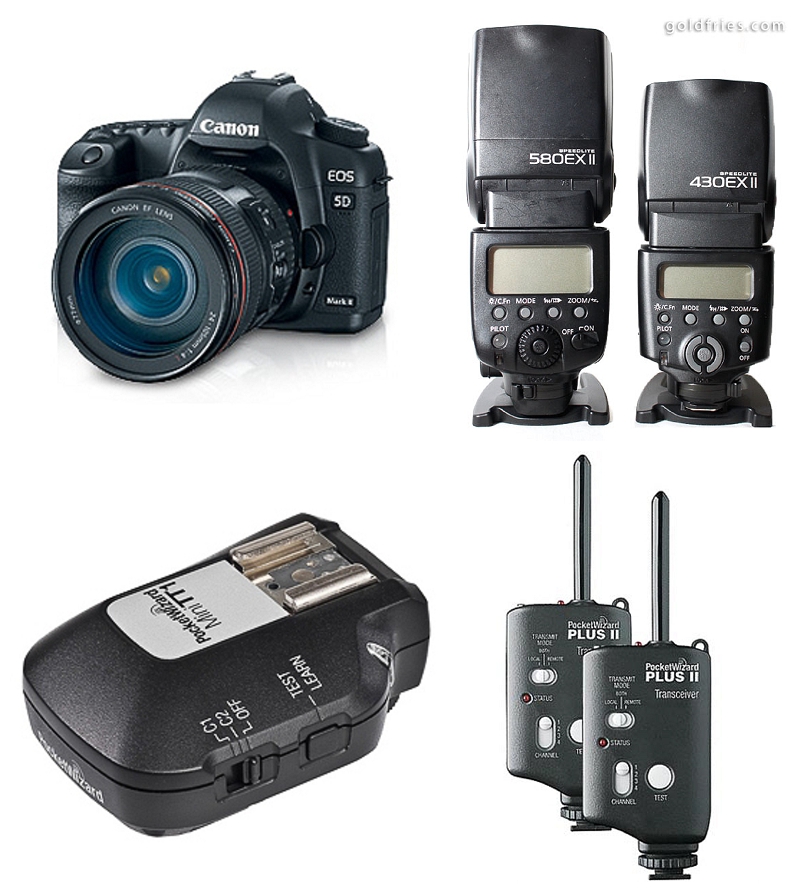
Thought I'd share the gear I use (and some images taken with each lens)! -two Canon 5D Mk II's -Canon Speedlite 430EX II -Canon Speedlite 580EX II -Mini TT1 PockWizard Transmitter -two PocketWizard Plus II Transceivers 2013-05-26_0015.jpg

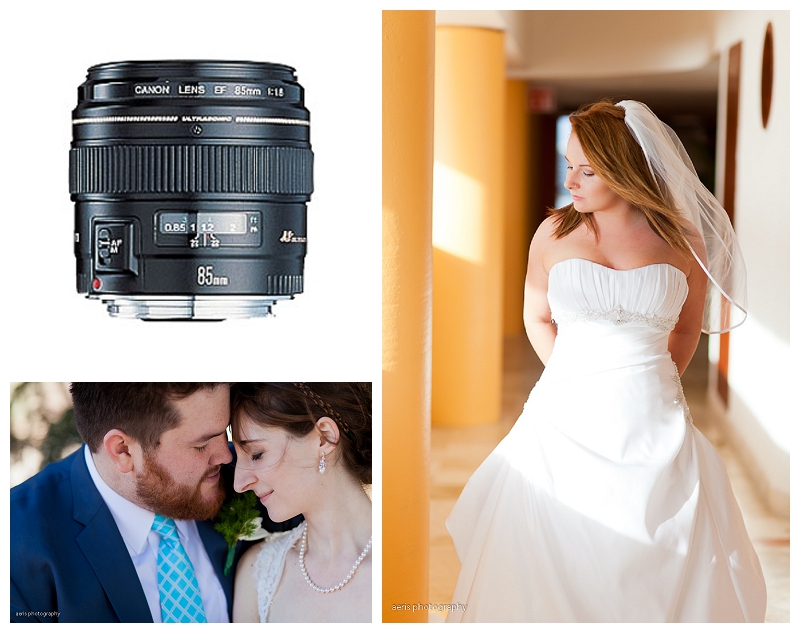
-Canon 85mm f1.8 (My go-to lens! I love it so much I use it on 75% of what I shoot)

2013-05-26_0016.jpg

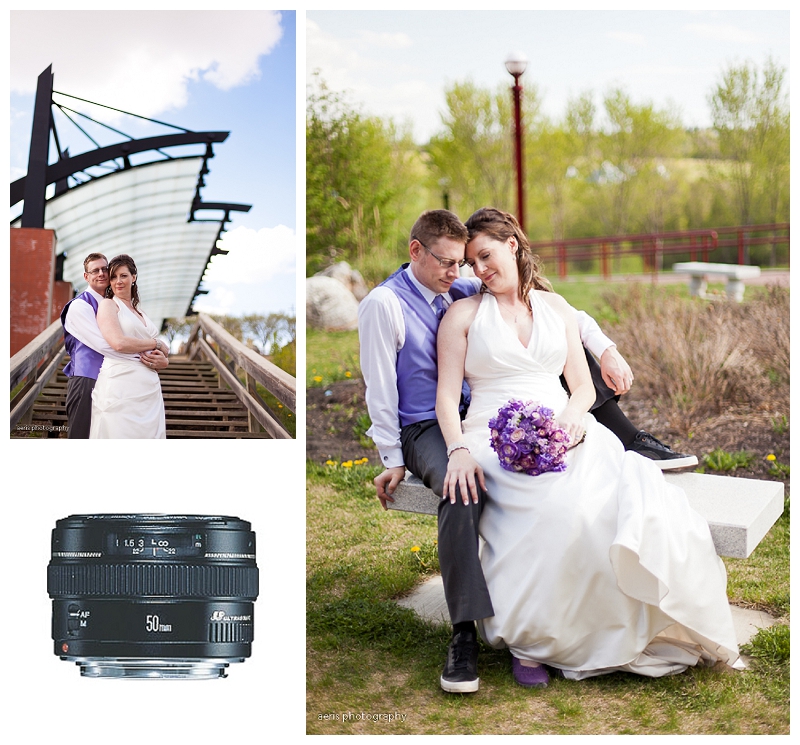
-Canon 50mm f1.4 (New-ish to my collection and quickly becoming a favorite)

2013-05-26_0017.jpg

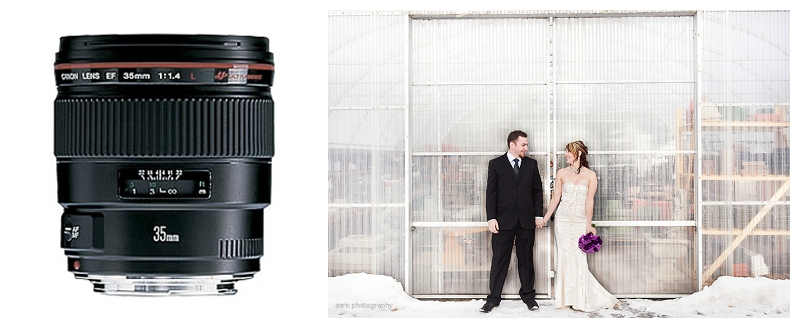
-Canon 35mm f1.4L

2013-05-26_0019.jpg

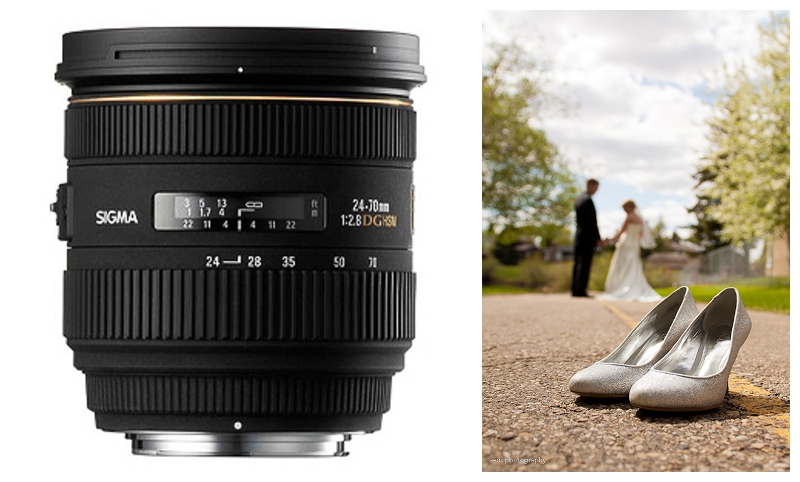
-Sigma (Canon mount) 24-70mm f2.8

2013-05-26_0018.jpg

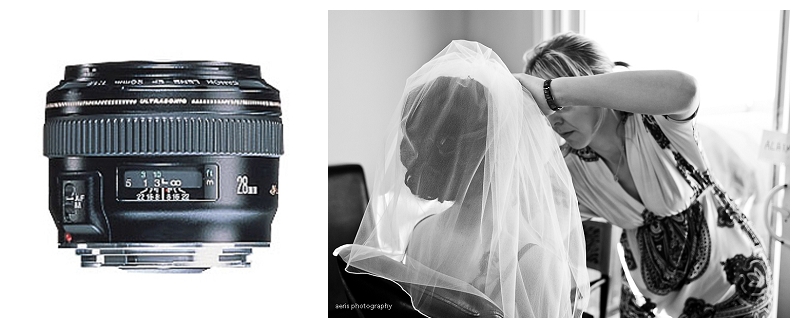
-Canon 28mm f1.8

2013-05-26_0020.jpg

And for editing I currently use Adobe Lightroom 3 :)

Have any questions? Feel free to contact me and perhaps I'll do a blog post on it!